"Big Foot 47"
or
Again various modifications
...
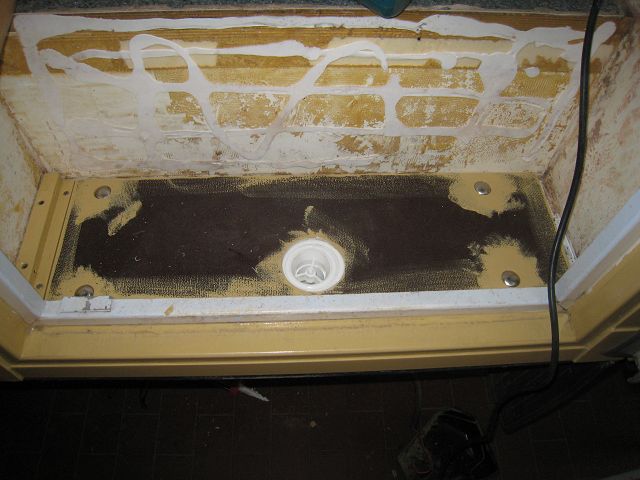
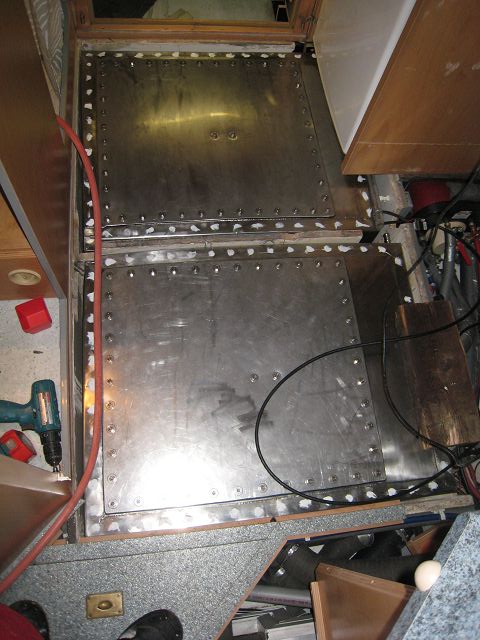
OK, nobody is without failures and as a result the wastewater-tank which is
integrated into the cabin started to leak.
Already 2 years ago I realized that somewhere water rinsed out but was not sure
where. Last year it became more and I found out that the leak was in the
wastewater-tank. A first attempt showed success but not for too long. As a
result icicles started to hang from the cabin whilst the winter tours 2008/2009
which proved that something had to happen. When I started the work I realized
that the multilayer-wood in the bottom staircase had rotten due to the permanent
rinsing water – luckily only where the screw fixes the electric staircase. So I
only had to take off a small section of the wood, approximately 15x10 cm. The
thickness at the edges of new multilayer-wood were reduced by half at a depth of
2 cm, same treatment mirrored happened to the edges of the remaining wood in the
staircase. So after having replaced the foam which was damaged when taking off
the section by a piece taken from a piece of cabin-sandwich which I still had
when I built in the windows I glued in the overlapping repair-wood with Sika.
Afterwards I was able to re-mount the electric staircase and replaced the beech
in the front of the staircase which had become dark in some areas
After multiple refilling of the wastewater-tank I found 5 leakages and hope to
have them sealed finally & permanent. If not it would be a horror scenario for
me because in that case the only solution would be to take off the shower cabin
and toilette-room, then remove the floor and to integrate an independent tank.
Please knock on wood for me that this will not be necessary!!
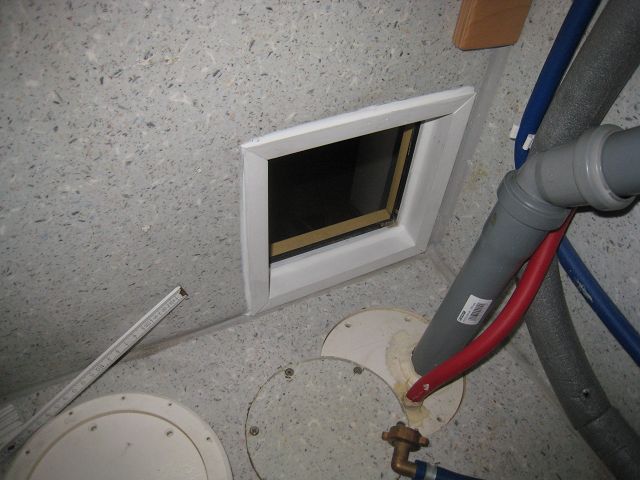
Because for the sealing of the wastewater-tank I had to remove the complete
furniture in the toilet-room I applied a plastic-frame around the cut for the
door of the outside shower – before:

afterwards:
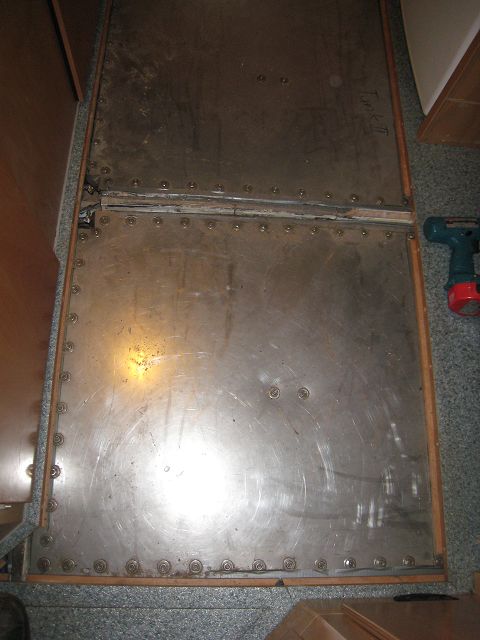
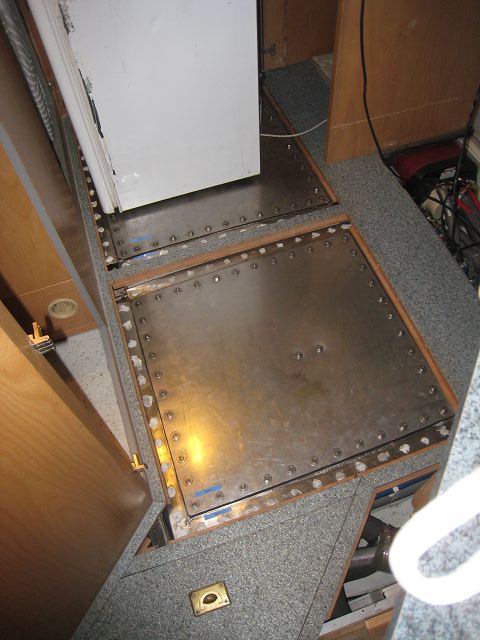
Another weakness of my planning was the design of the freshwater-tanks. The
removable top plates were hidden after the installation under the furniture of
the kitchen. So a regular inner cleaning was extremely uncomfortable because the
removal and re-install of the interfering parts took ~ 3 hours. So I only had
cleaned it once since the first installation but who thinks that there must have
been a lot of dirt and / or slime is wrong. It seems as if the stainless steal
is a very bad environment for slime and bacteria (plus that the ultraviolet
disinfection seems to have done a good job). This is the original state and you
can see that the right row of screws isn’t visible due to the floor-plate.
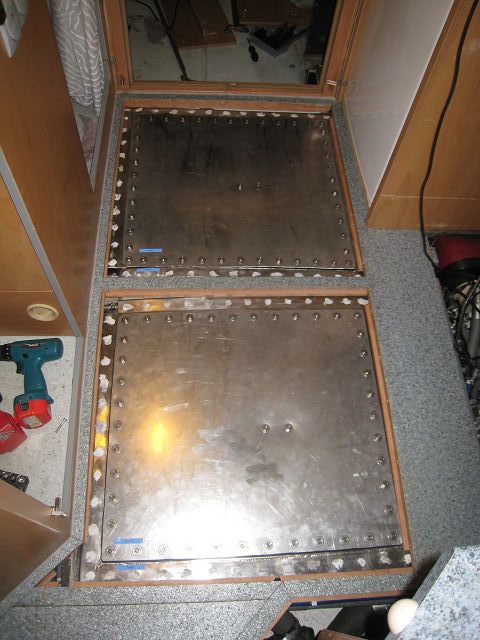
Here
my son has taken a picture when I was re-installing the tanks again.
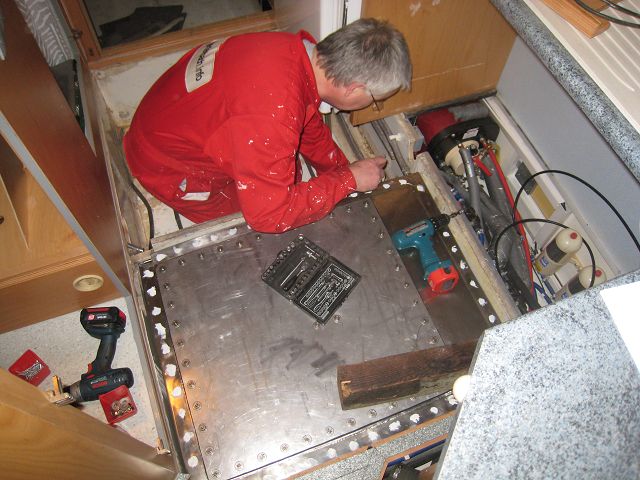
So
Heiko Petzel got the order to minimize the top cover. After installation was
finished it looked as follows:
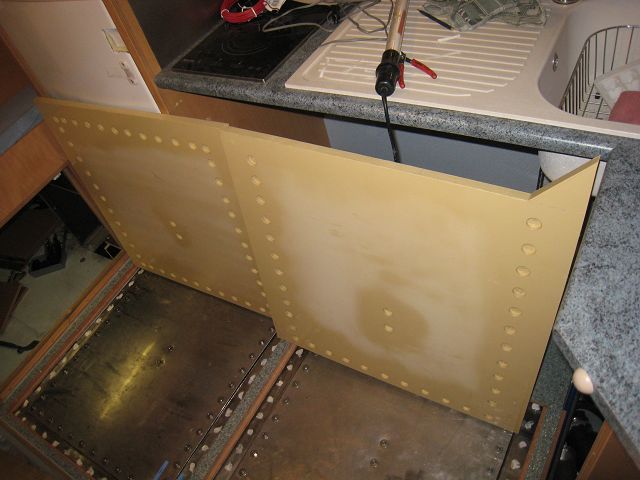
The
floor-plates were drilled on the bottom in those areas where the screws of the
top plate are and then painted.
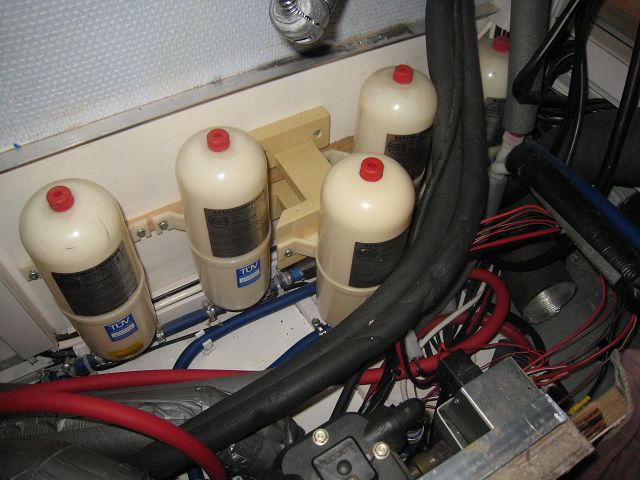
The
warm-water-circuit got an unidirectional valve before the boiler. So an
additional expansion-reservoir became necessary but it was no space available
without additional efforts. So I had to build this support,
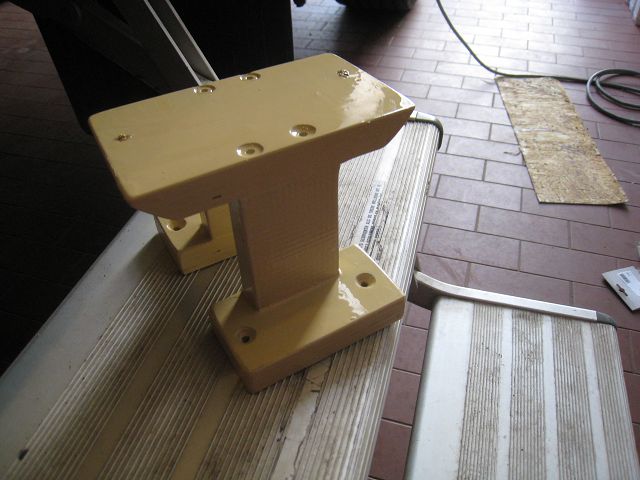
and
finally I was able to mount the fifth expansion reservoir.
An
updated version of the water-system-drawing is available in
Big Foot Infos
or.
here directly
as an Excel-File.
(Thanks to Geishard for his hints.)
Because the fridge was anyhow removed for the freshwater-tanks action I applied
plastic frames around the door and ventilation-grids for a better look.

The
small door for service got plastic frames as well.
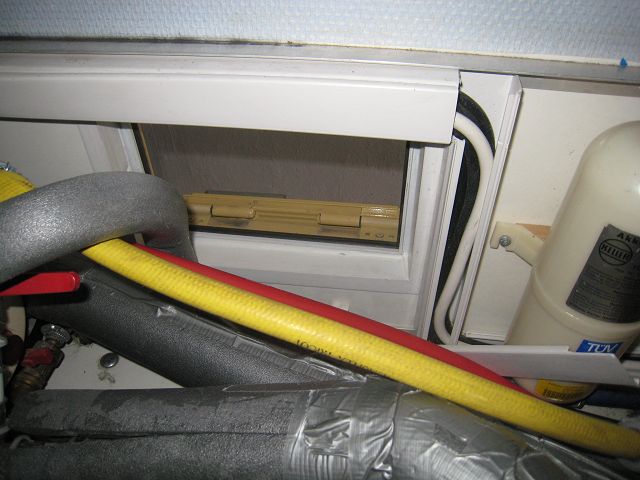
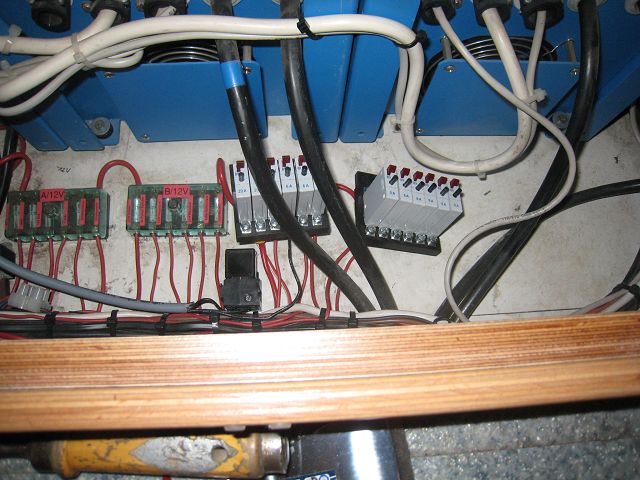
At
this door I had mounted the fuses and the relay for the Eberspächer warmwater-heating
(Agtar had simply placed it somewhere without paying attention for service
issues. But all other fuses are below the wardrobe! So I removed it as well from
here and built in new cable to install it as well underneath the wardrobe.
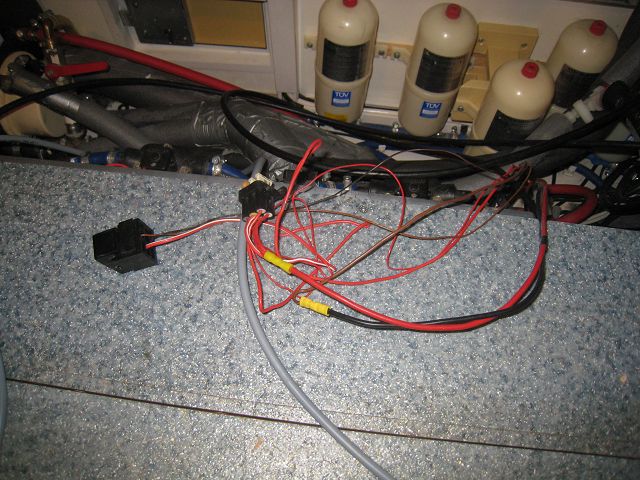
Here I
have exchanged the normal fuses against automatic ones. The other ones will be
replaced sooner or later but I have to built first a socket onto which I can
mount the new fuses.
The
second air-heating I had integrated into the shoe cabinet without caring too
much about the finish.
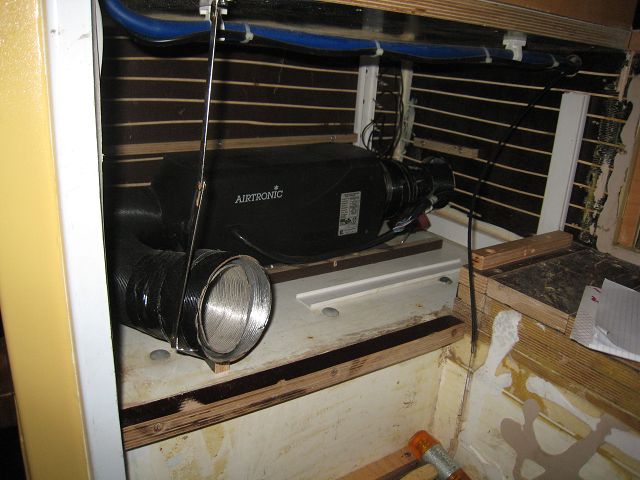
Because I had to remove the air-heating for the sealing of the wastewater-tank
anyhow I painted it now for a better look.
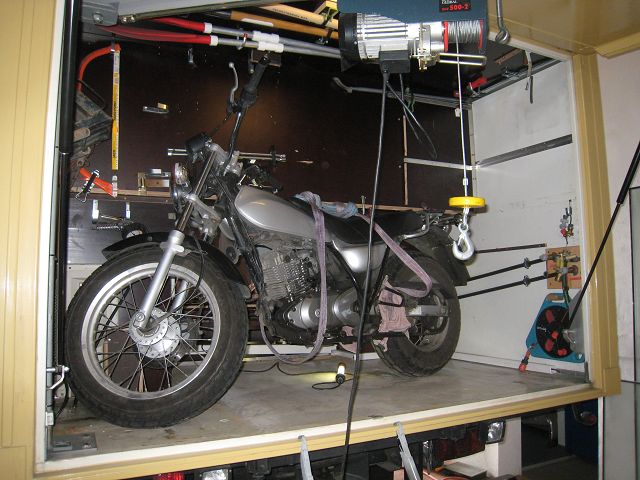
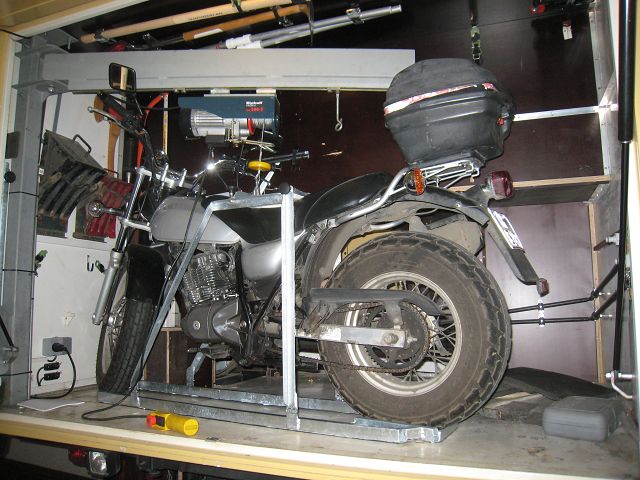
Another project was is the "dinghy", a Suzuki Van Van or RV 125. The Hercules
MP4 which we used so far could carry 2 people but had got bit by bit to the edge
of its capacity because of my growing belly. Furthermore we wanted to be quicker
as just 45 km/h. Another requirement was lightweight, as flat as possible and
compact to fit into the garage of Big Foot. Because my wife is just 157 cm the
seating-height must be very low and because of her old driving license “class 3”
the maximum was 125 ccm. Last but not least the Suzi will be the starting
motorcycle for our son once he has got the driving license when he is 18 at
08.05.2009. So once he has got 2 years of driving experience with this small one
he than can upgrade his motorcycle license to an unlimited version. All these
requirements the Van Van fulfils quite well.
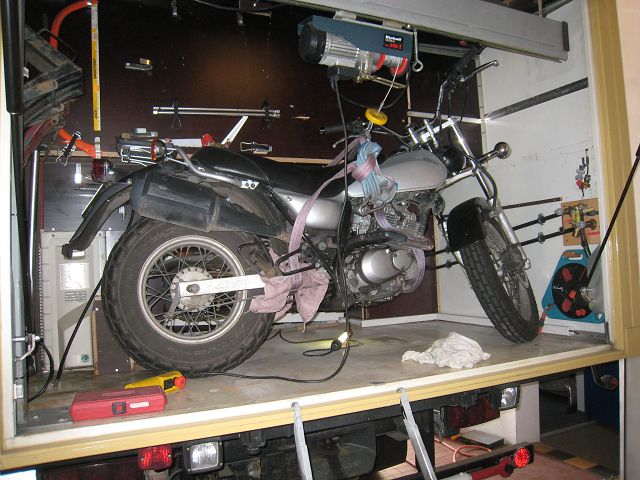
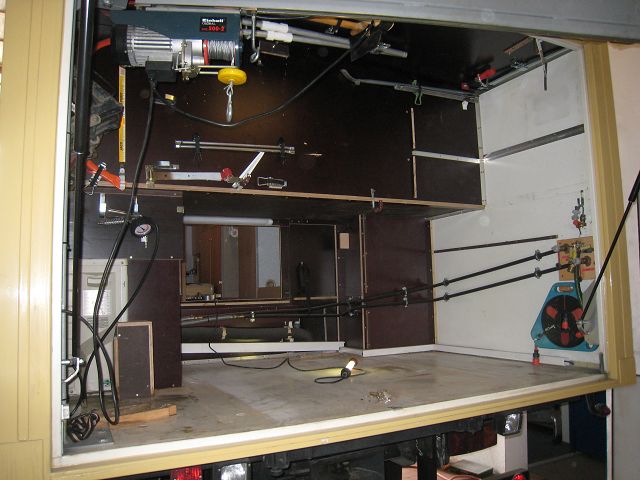
To
lift it up with the crane the garage had to be emptied completely before I was
able to test in which direction the Suzi fitted best. The picture below shows
the best choice.
As you
could see before all installations of the garage had to be removed.
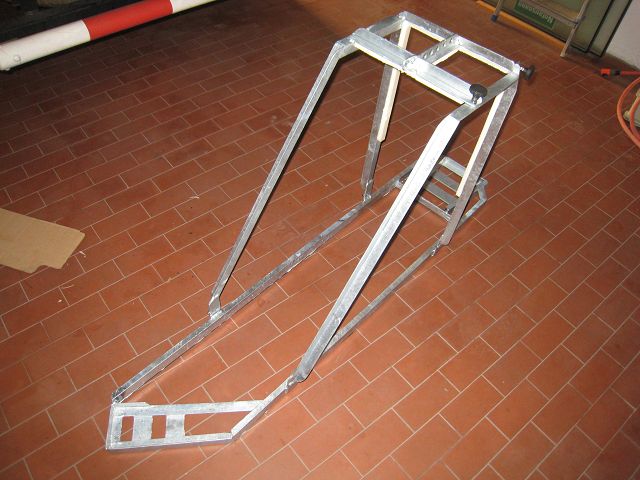
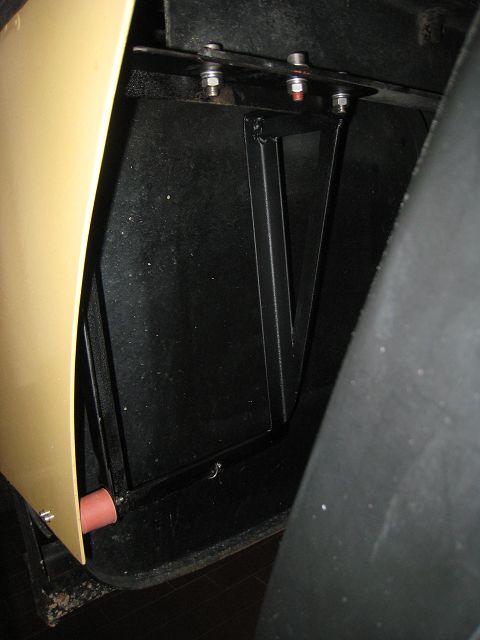
To
store the 120 kg motorcycle as easy as possible I built a cage into which I put
the Suzi before lifting. I push it onto the ground plate with two wings fixed
with hinges to the ground plate. Once the wings have been lifted up they can be
screwed together with two wing-screws. The hook of the winch can be put into
several holes on the top of the cage and then everything can be lifted up.
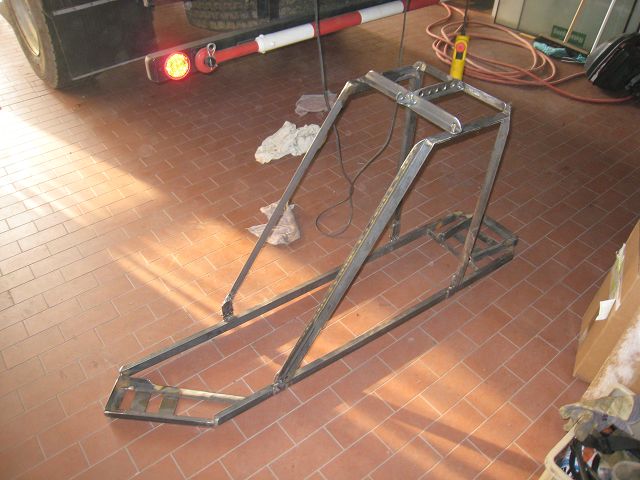
The
lifting is very easy to handle – even from one person on its own. The ground
plate got layers of rubber and the wings some stripes of foam (Trocellen) to
protect the motorcycle from getting scratched in the cage. Of course the cage
got zinced. Thanks to my friend
Franz-Jakob Lang
and
his family where I was allowed to use his facilities and materials – thanks very
much!!
The
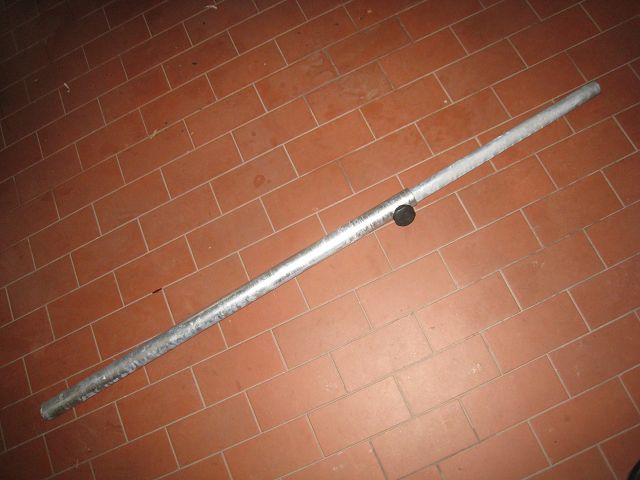
arm of the crane had to be shorted to fulfil his new job.
What
still has to be finished are conducts on the ground plate so that the cage
adjusts itself when it is lowered in the garage. The conducts will be fitted
with quick-release straps so that the ground plate can be securely fixed.
Depending on how safely this fixes the cage I may apply an additional strut to
the inner wall – lets see.
Update: Here you see on the floor of the
garage one of the wedged fixings. which guide the cage in the correct place and
prevent it from moving for or aft.
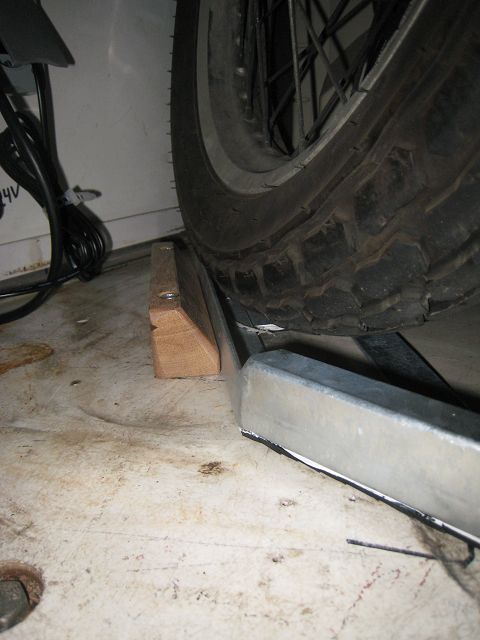
The long wedged fixings.have flaps with
hinges to fix the cage propperly to the floor.
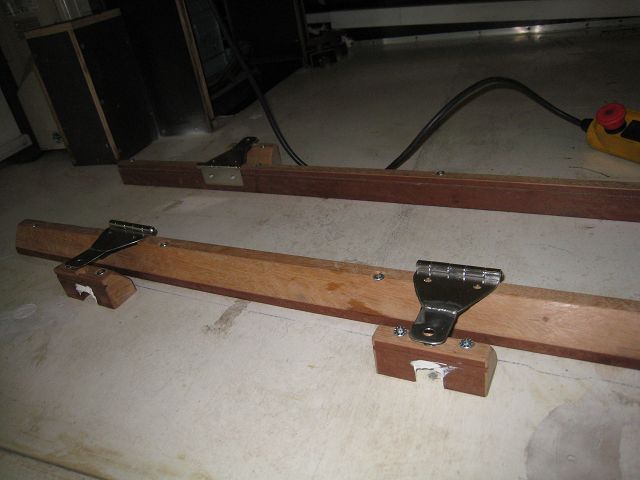
3 wing-screws fix the stainless-stell flaps
to the wedged fixings. The srews fit into threads which are self locking
from underneath due to the edges which are pressed into the wood (and glued in
additionally).
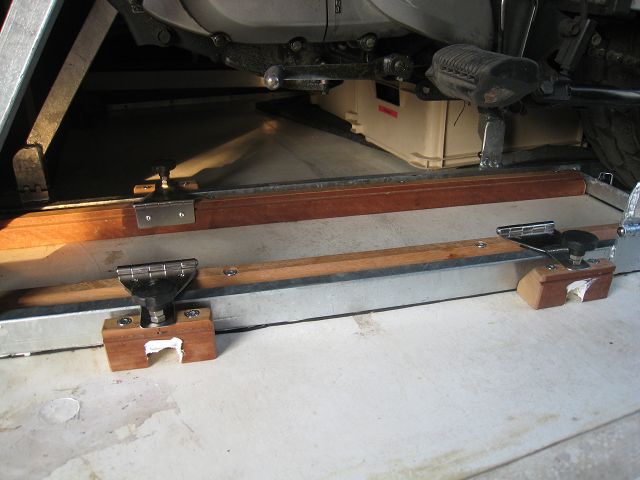
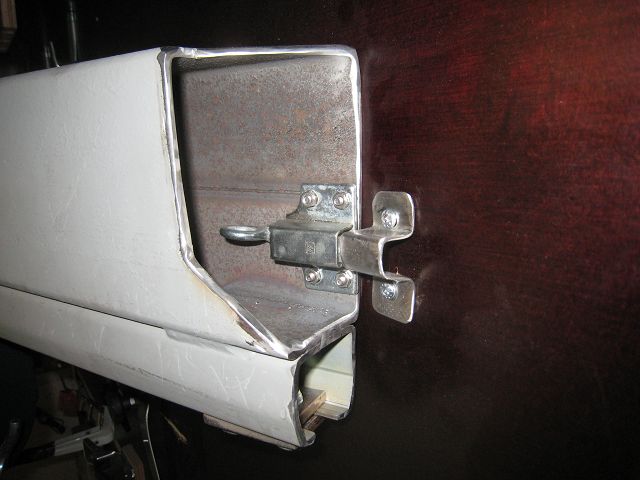
The support on the top of the cage - it is
now rock-steady!

The support in park.
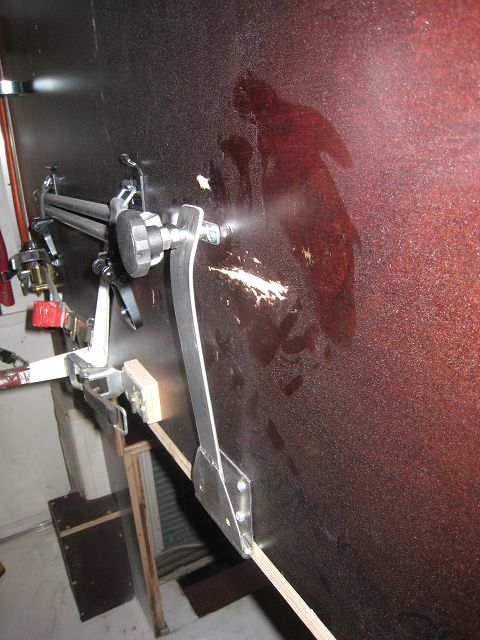
For driving the crane-arm snaps into this
lock.
When I
did all that welding I built as well a telescopic extension for the wheel
spider.
The
cover of the tank got a support which pulls it by a spring against a rubber
buffer – this will hopefully eliminate vibrations.
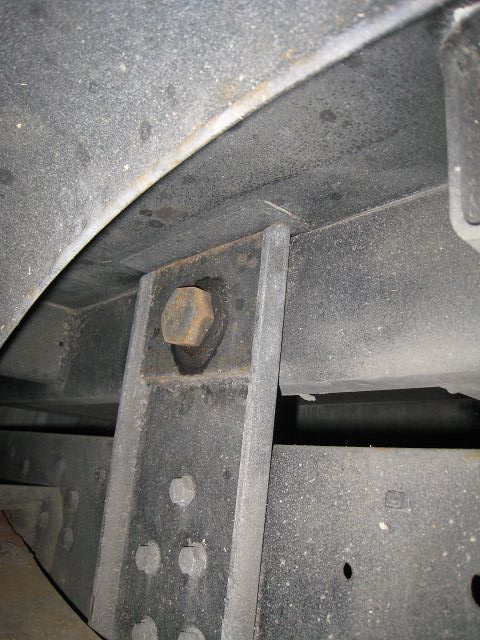
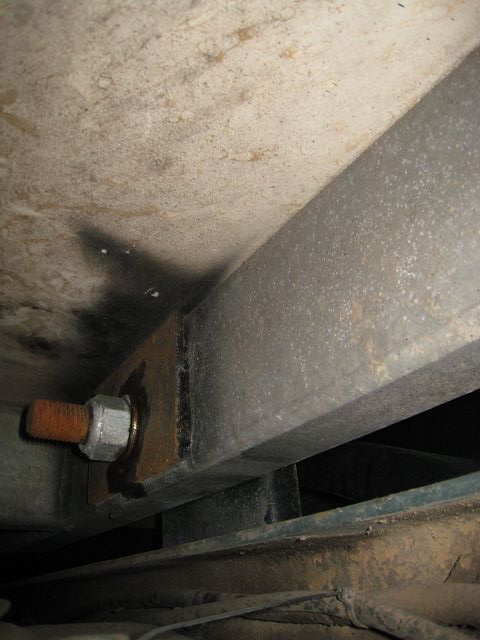
What I
hadn’t updated is the improved additional frame for the cabin from Ormocar. The
vertical connection piece is improved a lot compared to the first one. You can
spot it best on the following picture. The full
story and more details here.
OK,
that’s it for now, additional things already are in progress but need some more
efforts to be finalized. Will keep you updated …

 Besucher/Visitors
