"BIG FOOT 33"
or
2006_04_08
or
"various Modifications"
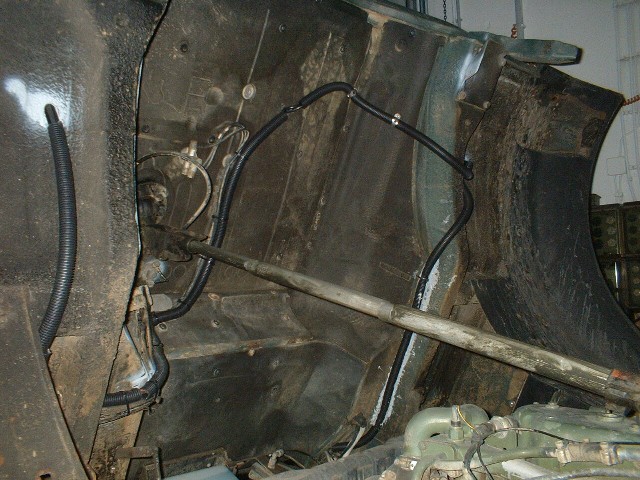
When bought in
the very beginning of the project the Recaro-seats the power-supply-cables and
the pressure hoses were simply placed in the rear of the driver cabin. This was
the quickest way but it looked ugly. So my plan was to hide everything.
Furthermore the connectors had been in conflict with the base of the seats when
sliding them for- or backwards. As a result the power-supply cables were simply
pulled out of the plugs. My final solution was, to bring everything from
underneath. The base of the drivers-cabin now no longer looks that tidy but this
was the ultimate way to get them out of the inner of the cabin.
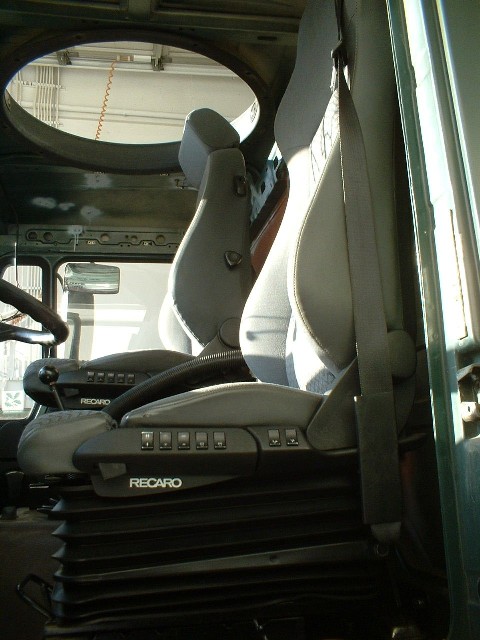
I was really
lucky to get hold by Ebay of a Recaro-seat with integrated 3-point safety belt.
This one I have put in now as well. Maybe I will be lucky and find another one
for my wife – our son is no longer keen on joining us!
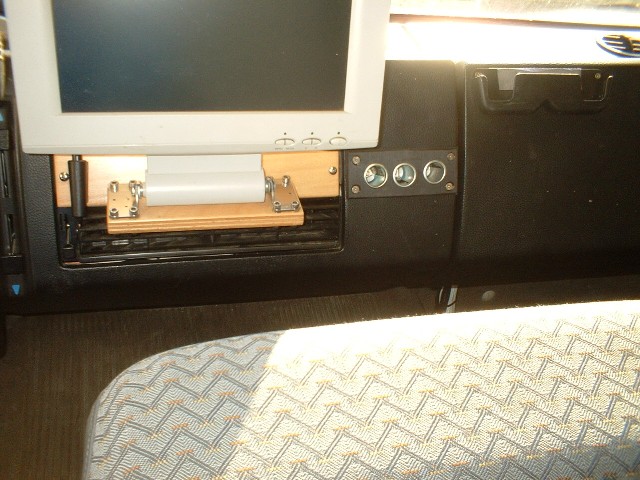
In the
dashboard had been left of the TFT-monitor three drills (for indicator lights??)
which were covered by a black-sprayed aluminium stripe which already lost the
paint! So it really looked ugly. Because I need for my PDA and the GPS-finder
anyhow two additional 12V plugs I built three into a stripe of 6 mm thick
hard-plastic. I don’t think that it looks as something just to hide some
drills.
The drivers
cabin was isolated to achieve an even better heating in winter, a little bit of
protection against heat in summer and although very minimal a little bit of
noise reduction.
Isolation of
cabins was discussed heavily in various forums. The short version of the result
was the recommendation for LIVING cabins to integrate a sealing before building
in the isolation. Alternatively an air-circulation should be guarantied to get
rid of humidity between steel-wall and isolation. A 100% sealing is in the
drivers cabin impossible. A big enough gap (2 cm or plus) for air-circulation
was not possible either.
So I pressed
Trocellen (a foam with closed bubbles which does not suck water) plates of 2 cm
thickness between the columns without gluing it to the walls. At the rear I laid
it double and glued the two plated together with gluing-spray. Unfortunately it
was too tight in edges of the rear wall when putting back in the cover. So I had
to cut of a stripe of 10 cm over the complete height. The double
Trocellen-plates in the top of the cabin I had to reduce to one again
because of conflicts with the top-cover. But 2 cm are still better than
nothing.
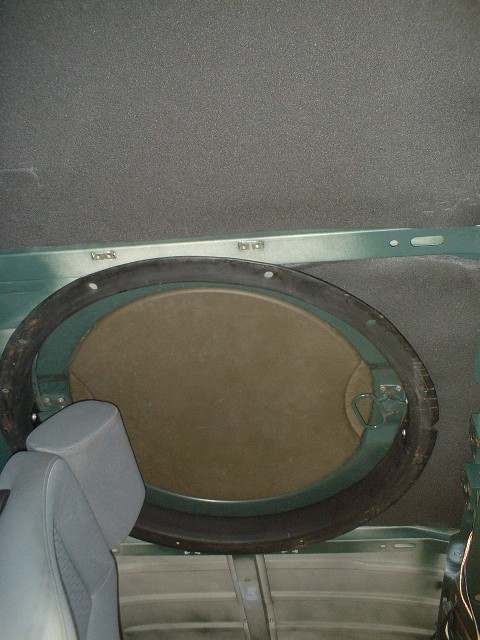
The steel is
profiled so there remains a 5 mm big gap to the isolation. Furthermore the
driver cabin has a very good air ventilation so the above version seems to be
acceptable for the drivers cabin. (Photo show partly finished isoltion in the
top. In the rear you can the profiled steel.)
Prior
to forget it and without photos:
Thrusday
I had technical inspections - both without any complaints!
 Besucher/Visitors
