"Big Foot 51"
or
Various ...
(December 2009 till February 2010)
I
Currently I have plenty of time an das
well Christmas and New Year wasn’t really that much to do besides drinking,
eating, relaxing, chilling in front of the TV. That was getting more and more
boring and so I started the following issues.
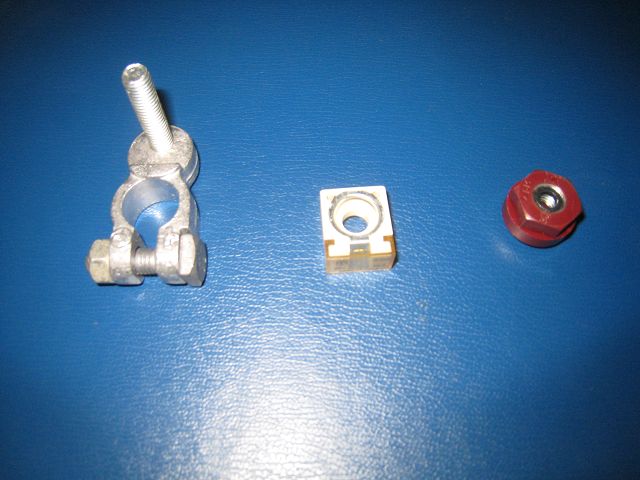
First of all I fitted all batteries with
an individual fuse with the following parts from LEAB. New clamps for the
battery terminals, fuses and special fixing screws.
The fuses support 300A which is more than
sufficient, even if the two converters are working with max. power.
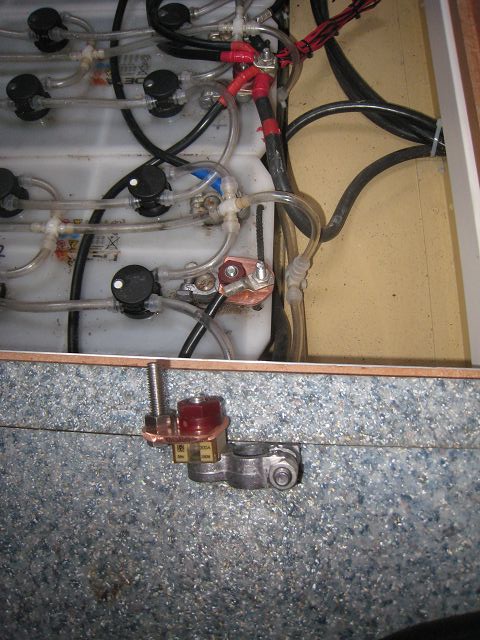
But a problem occurred when I tried to
install everything. The special fixing screws have an isolation ring to keep the
cable shoe isolated against the thread. The height of the isolation ring limits
the amount of cable shoes to max. 2. So I ordered a piece of copper (4x40mm²),
which I modified and equipped with a thread so that I can easily fit up to 6
cable shoes.
That’s how it looks fitted to the
batteries.
Furthermore I installed between the
batteries so called „Equalizier“, which I had ordered through a friend directly
in the USA (thanks a lot Ali!!) because the US-dollar price is even with import
tax less than 50% of the EURO-price. Thanks as well to Emil for his patience
whilst my silly questions and Andy for his help.
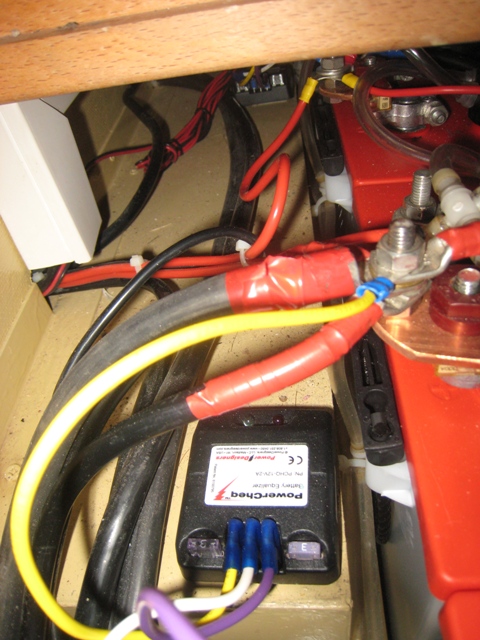
The first batteries in the row got a
direct connection so that I now have more than sufficient 12V power available.
That saves the DC/DC-converter which wasn’t powerful enough for the electric
entrance steps and didn’t provide a high quality 12V DC current – the PDA which
I used for navigation had frequent failures when I had used the former single
12V battery together with an additional as a starter block battery. As a result
I had to use the DC/DC-converter and since then without a battery as a buffer.
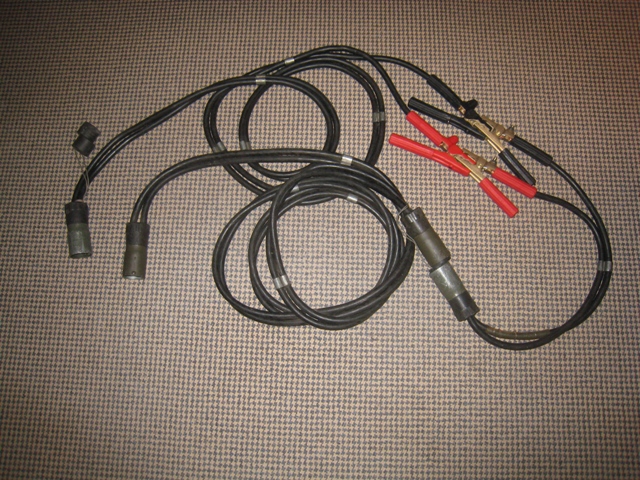
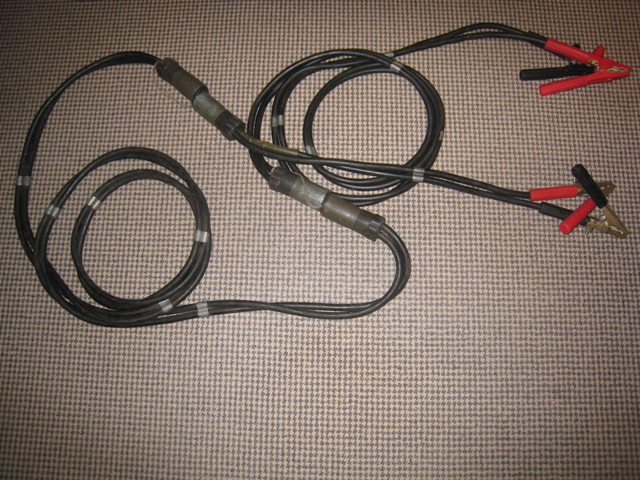
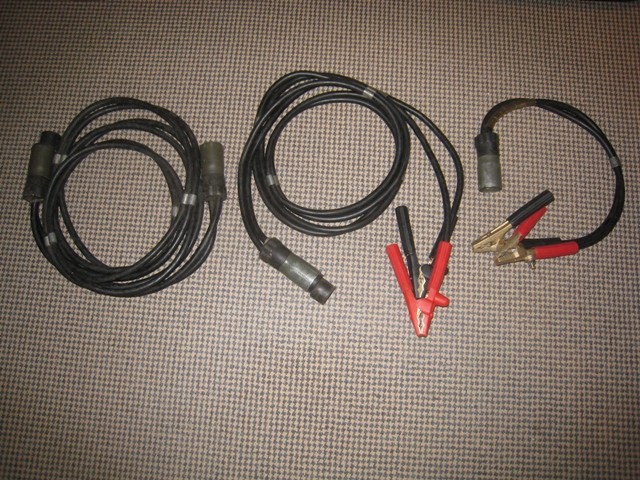
I made a universal booster cable. Two
NATO-booster cables, which can be connected up to 10 meters were the starting
point plus 4 terminal posts, sufficient to handle 50 mm² diameter of the
NATO-cable. Now I can provide or get power from up to 10 meter distance with
terminal posts on both ends, alternatively up to 9 meter with NATO one side,
terminal posts on the other side or by connection the terminal posts up to 10
meter NATO to NATO.
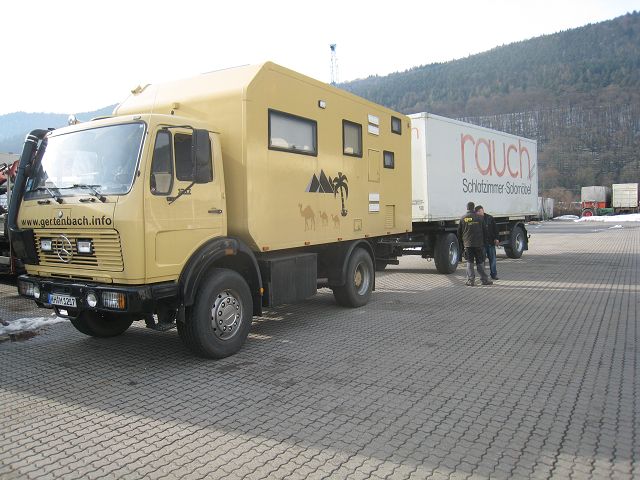
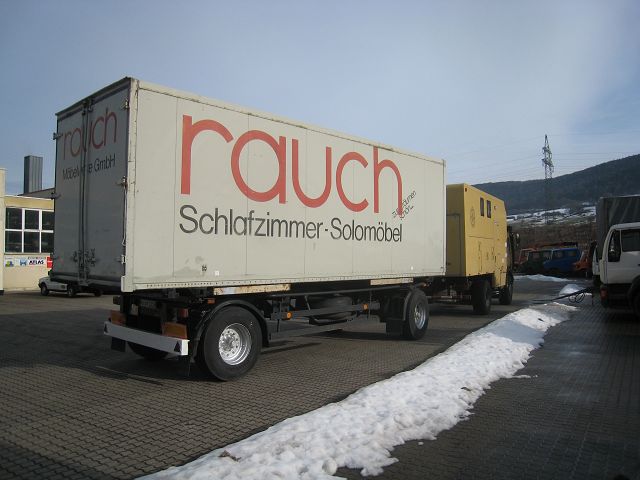
For all parts, tools etc. which I do not
want to carry with me in Big Foot I have bought a trailer onto which I can mount
a container, e. g. the one which I bought from
go-hydraulics as well, a so called 745
BDF-Container. The Container has 3 cm PU-isolation, on the outside steel and the
inner walls are made from glas fiber. So a short term installation of shelves, a
workbench and one or two windows will be no problem. Electricity will be feed
externally, either 230V or 400V, eventually upgraded bit by bit by a 24V circuit
and 12V plus heating (if it will be a coal oven or a diesel-heating I don’t know
yet). But I definitely have sufficient space for all bits and pieces plus
working space away from home, garages or service stations.
Storage boxes were a long time plan. So I
bought PE-plates and started to use the space under the cabin. Here are the
first results:
The first investment was a welding kit
from Leister which is even though used is much better than anything you can buy
in a normal tool shop. Leister has very good documents for download which
describes the handling.
Here a short description how I made it.
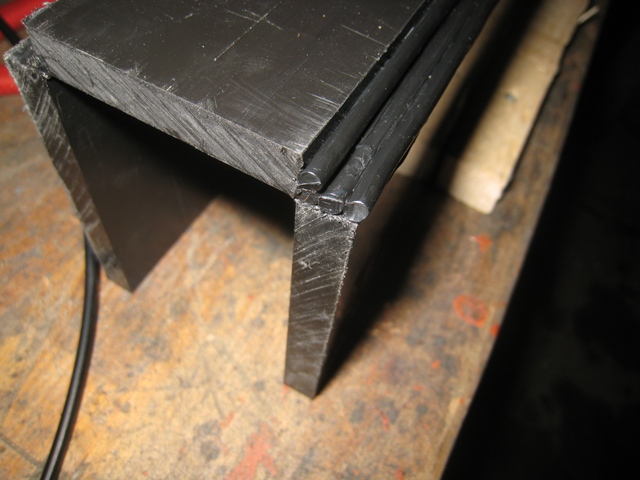
The two parts are tacked together.
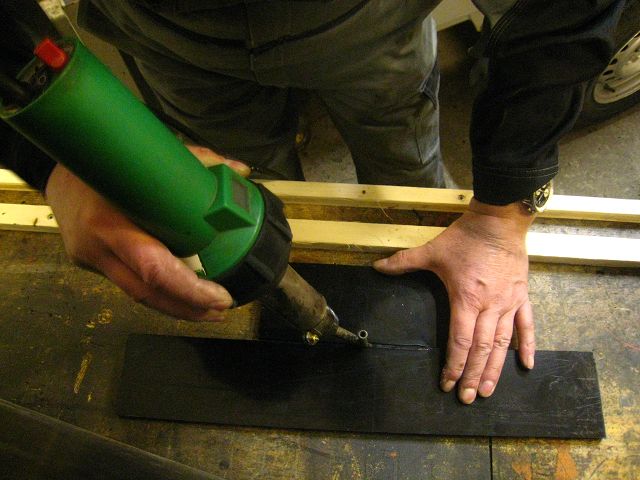
Because of the thin "skin" created by the
tacking you can bend the two parts into the angle you want to have.
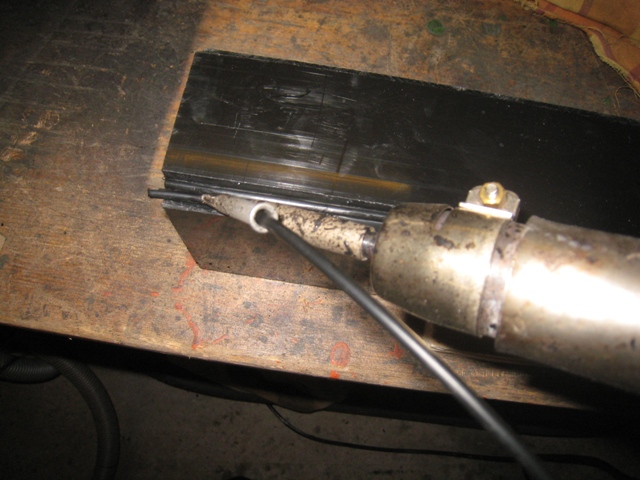
Then you fill the gap with the welding
rod.
PE can be treated as wood, so you can saw,
drill, shape, grind it, no problem, only the surface finish was a problem for me
as a non-professional: Even with 600 grinding paper I could only achieve a dull
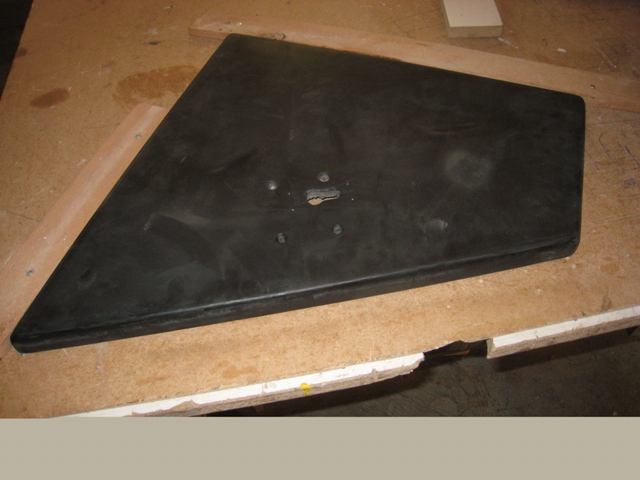
surface. Here the cover of the first storage box.
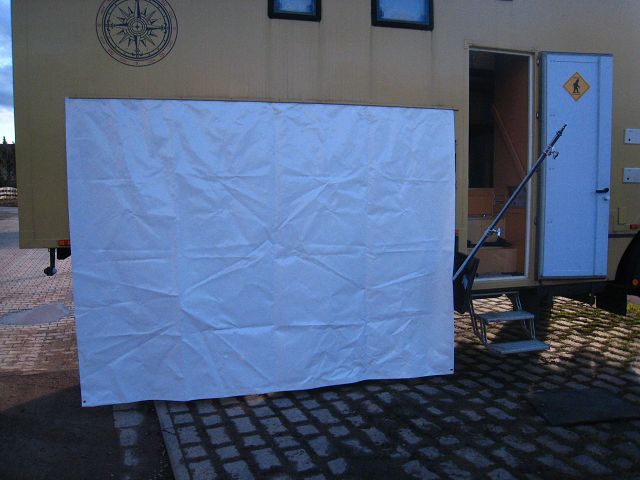
In the storage box I installed a mounting
bracket for the telescopic pole to hold the sunshade.
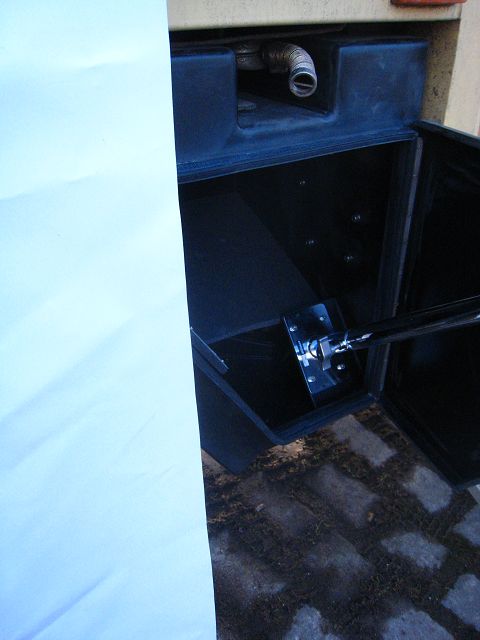
That’s how it looks with the telescopic
rod (but without the sunshade fixed).
And here the mounted storage box.
Two more storage boxes behind the rear
axle will follow, the first is in build, I will keep you updated.

 Besucher/Visitors
