"Big Foot 44"
or
Once upon a time ...
This page is dedicated to my friend Orest,
who helped me with the paintjob with passion and unselfish as he already had
done frequentlly before!
Normally that’s how fairy tales start, for me it is the history of the spraying
of Big Foot. In October he was de-registered and put into a hall. Bit by bit I
began with the dismantling. Since then I spent not only almost all week-ends
there but also still all holiday days (1st November - 4th November, 2007 and
22nd December, 2007 - 06th January, 2008, Good Friday the from the 21.03.08 to
the 30.03.08) - if my woman wouldn’t have seriously warned me I would have gone
as well Christmas eve and 25th December, but on the 26th I was already back
again – even though not for the full day!
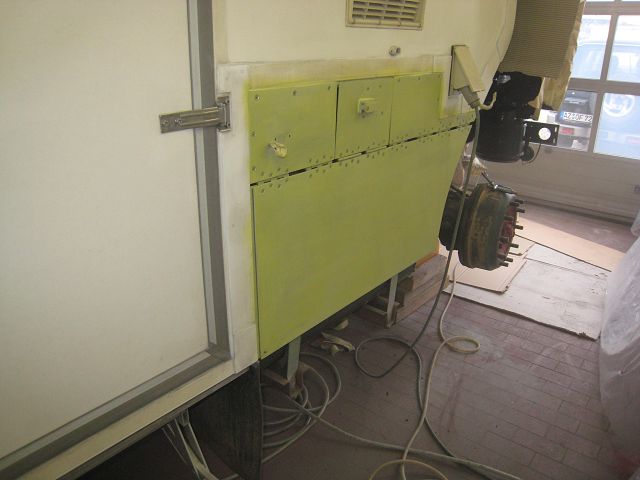
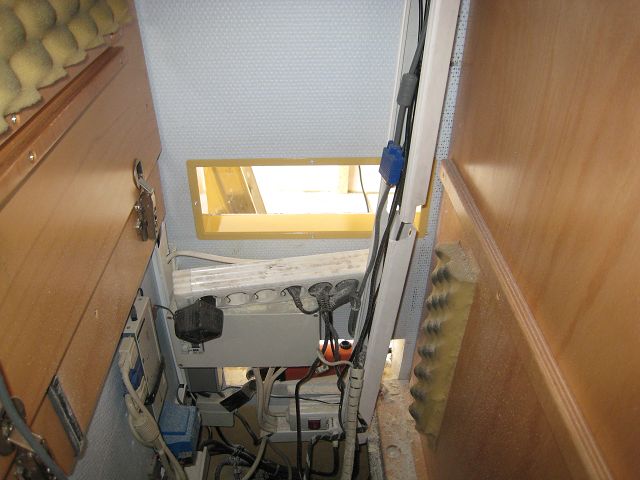
First a picture of the box of the power generator: Here the fans for blowing in
air for cooling (roughly 30 m ³ / min / fan) and one to push out the exhaust gas
(the pipe from the original exhauster to the fan is still missing) are built-in,
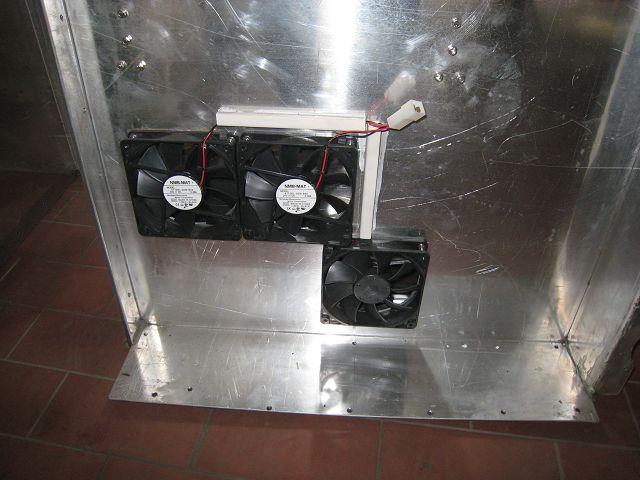
then the air pressure-operated cylinders of the locking flaps and as well 2 fans
to blow out the heated air were mounted,
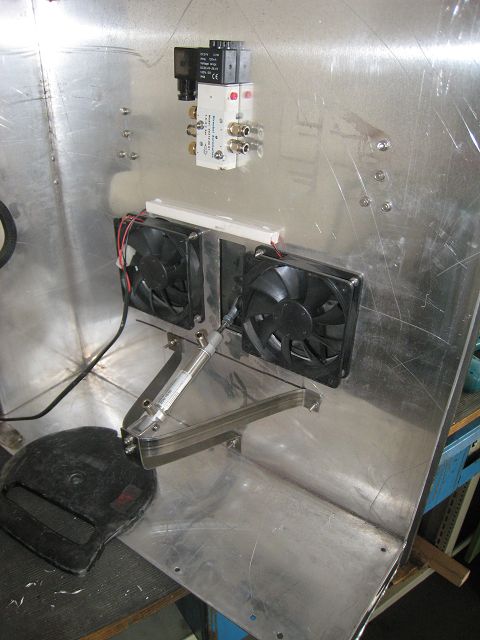
and the flaps mounted and adjusted.
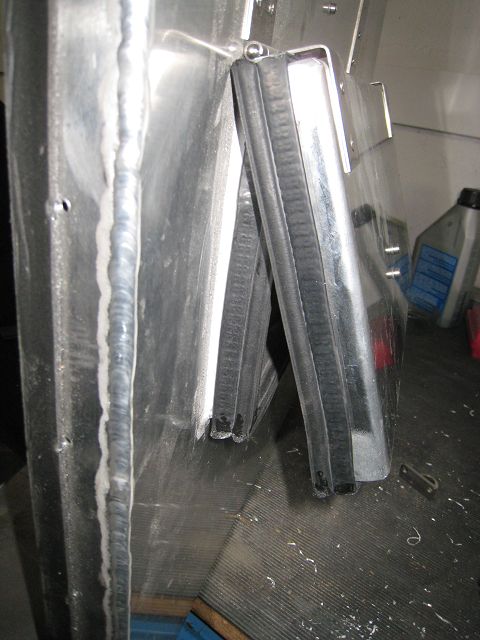
Afterwards everything was dismantled for the purpose of spraying again.
The number plate fixture was already altered several times, hopefully now for
the last time (of course the power supply for the lighting had to be adapted.
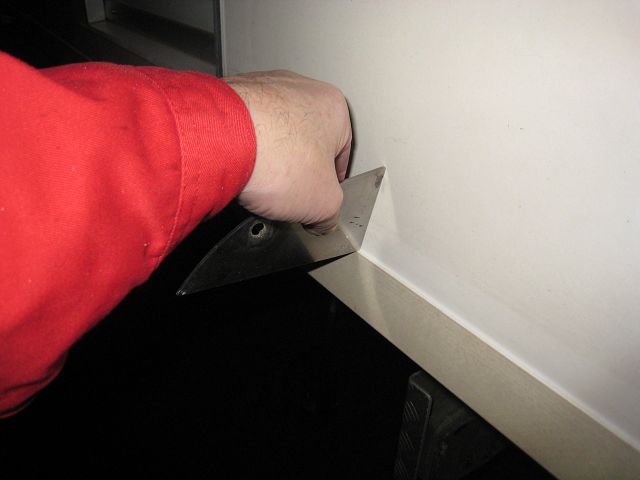
The glue in the edges of the cabin had get aged by ultraviolet light because of
there wasn’t a protective paintwork. As a result the cracked glue had to be
removed with a scraper and be new glue had to be injected afterwards.
Several times I thought during these weeks "OK, now I really have dismantled the
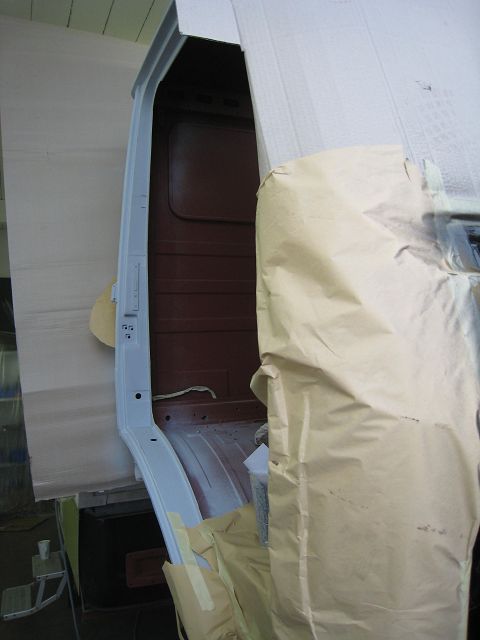
last part!". However, it became more and more and more. Of course the doors and
the windscreen had to go out, also the windows in the doors.
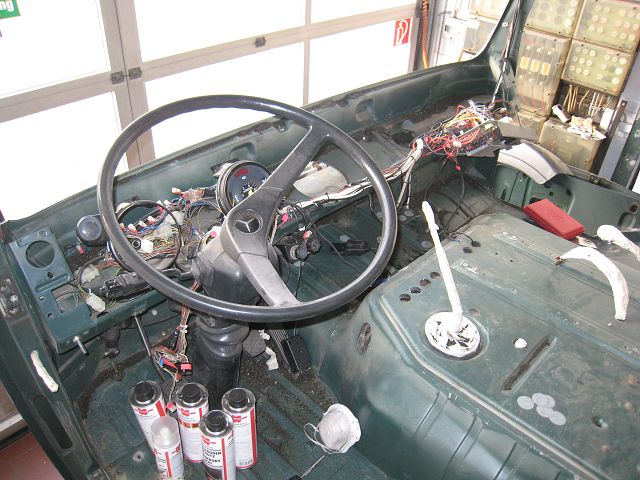
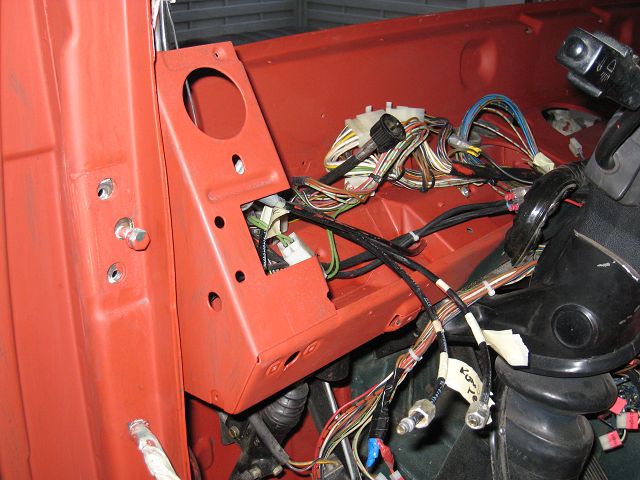
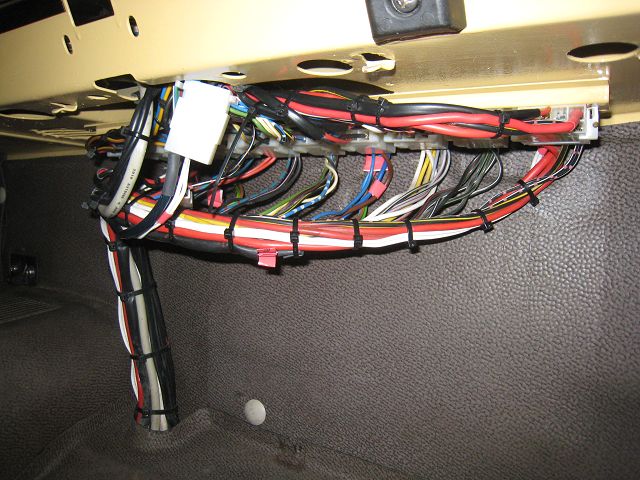
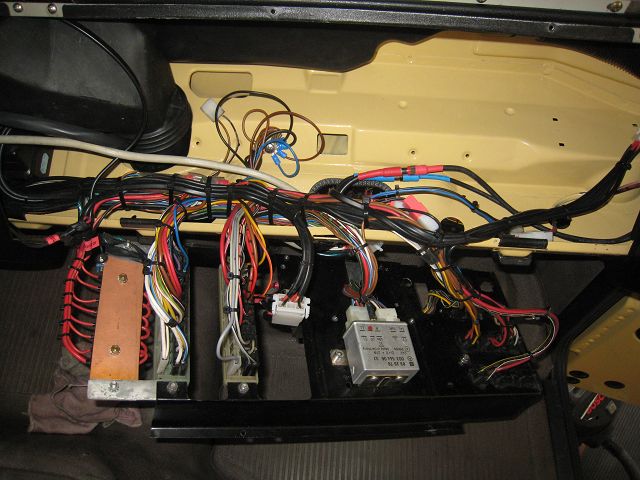
I had decided that the cable loom should remain in, nevertheless, I noticed
quite quickly that this would prepare only more problems with the paint job -
so I took him out as well. Fortunately I had marked the plugs and connectors,
the lighting symbols and their plugs already whilst previous jobs on the
dashboard. This made the dismantling easier, because for the purpose of later,
easier assembly I didn’t need to mark anything.
As a result the spraying was much easier and cleaner than having the cable loom
wrapped up and perhaps laying in the fresh colour.
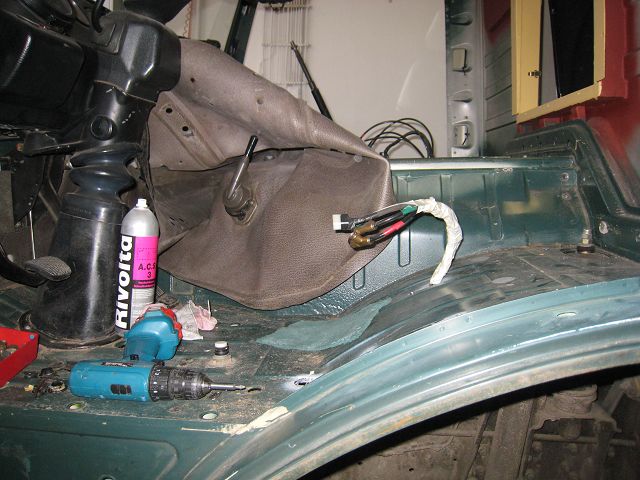
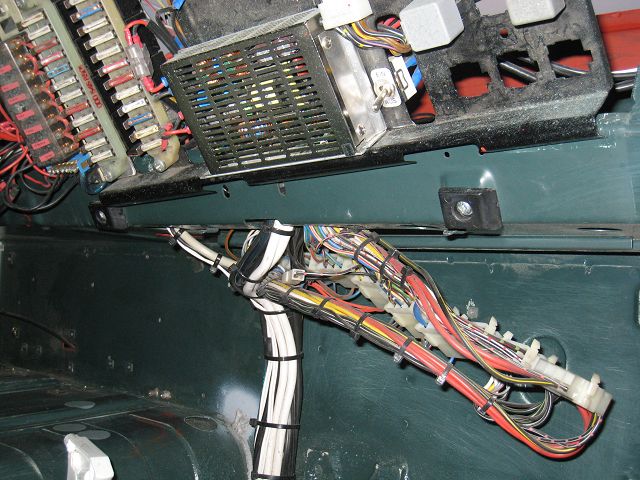
Under the dashboard on the front seat passenger's side is a plug socket strip by
which the cable loom can be simply separated.
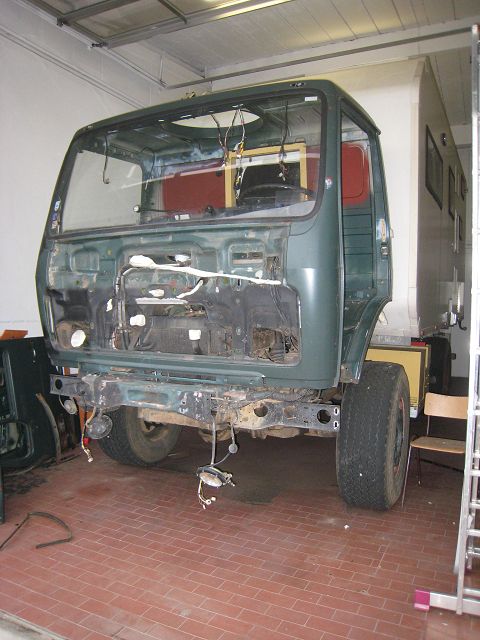
In the end, only the steering wheel, the coupling pedal and brake remained in
the driver's cabin.

Behind the rubber of the windscreen were rusty spots and even some holes which I
hadn’t seen before! The solution to repair this is to tin-plate. On the
thoroughly de-rusted place a contact paste is applied with a brush,
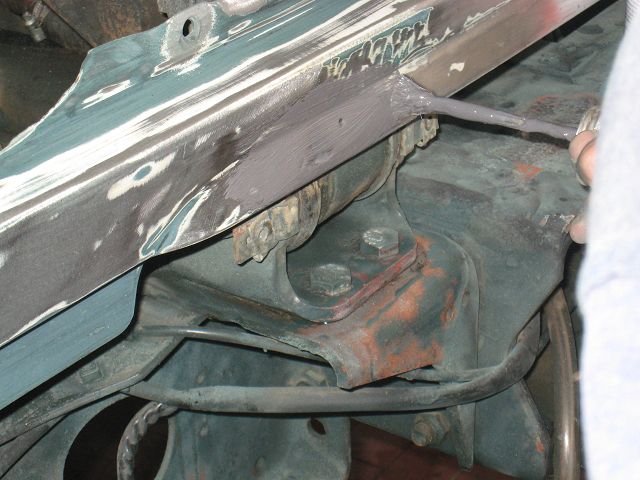
Then the tin is warmed up with the open flame.
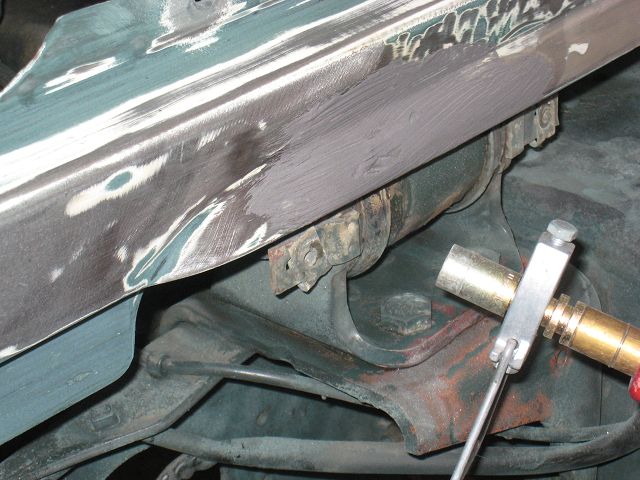
By using a wooden stick you soften the surface and put it in a shape.
Afterwards it is softened with
normal
sanding paper.

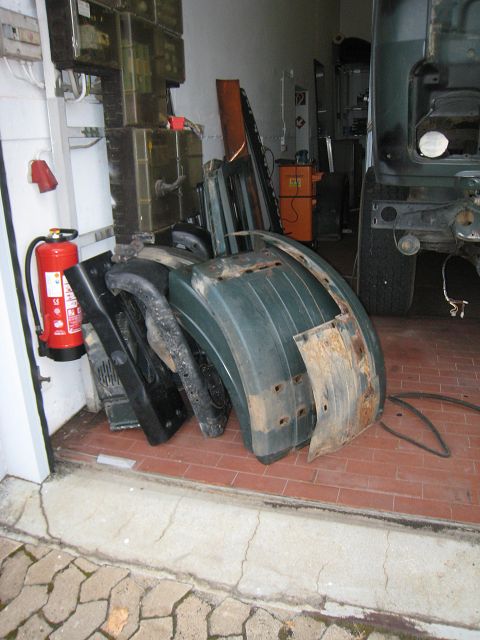
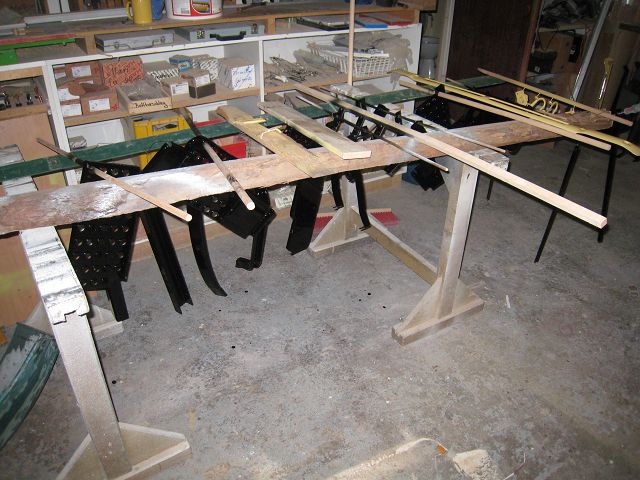
All parts like bumper, fender, turret were dismantled etc., de-rusted, where
required welded, rust protection applied with a brush and if necessary levelled
with filler (I used rust paint and filler from Würth). On some week-ends my
finger tips were sore from sanding and I tried to get them with sore cream ready
for the next action.
I have taken from many parts photos for documentation purposes, so that the
later assembly is easier for me. What I should say - I should have taken even
more photos, costs can be neglected nowadays with digital photography.

At the beginning I tried my luck with sandblasting what was limited,
nevertheless, for several reasons to a minimum. First these was a extremely
dirty job, the sandy particles got really anywhere. Secondly, without protective
glasses, whole body protection suit, gloves etc. it was not good for me either.
And thirdly you need for sandblasting an extremely high-quality compressor with
at least an air-flow of compressed air of 500 l / minute. Although the companies
compressor isn’t a cheap one, he was too weak for this job. As a result I had to
stop frequently the sandblasting because the sand got stuck in the hose.
Finally I managed to get rid of the last bits of rust and I applied a protective
painting with a brush.
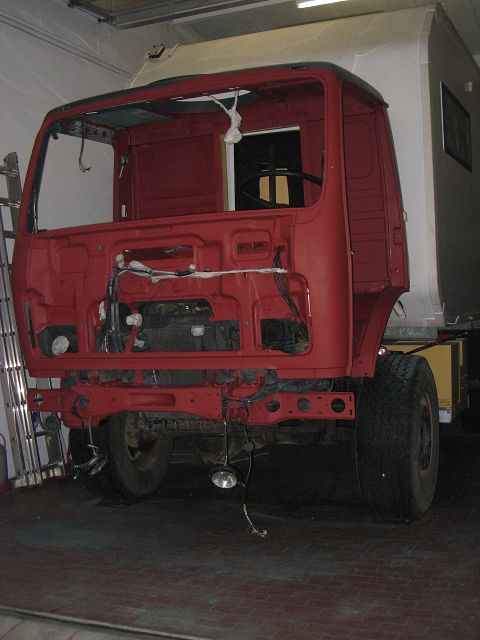
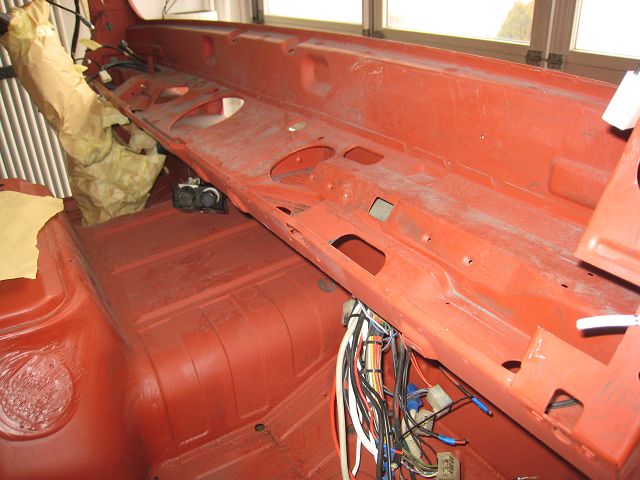
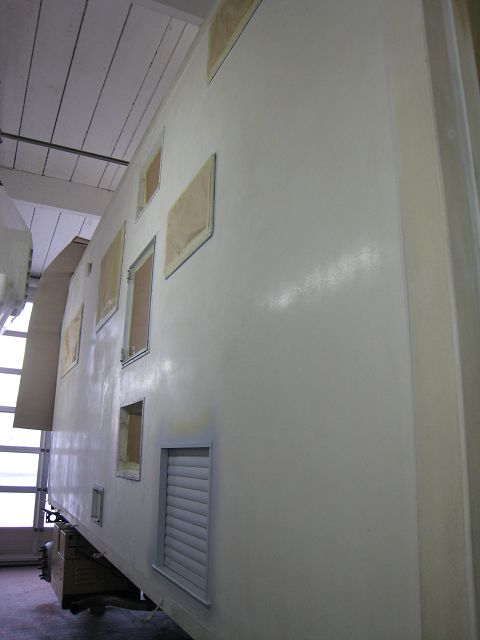
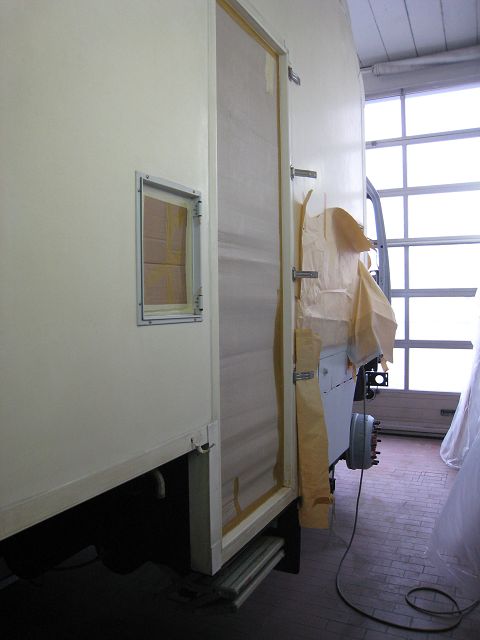
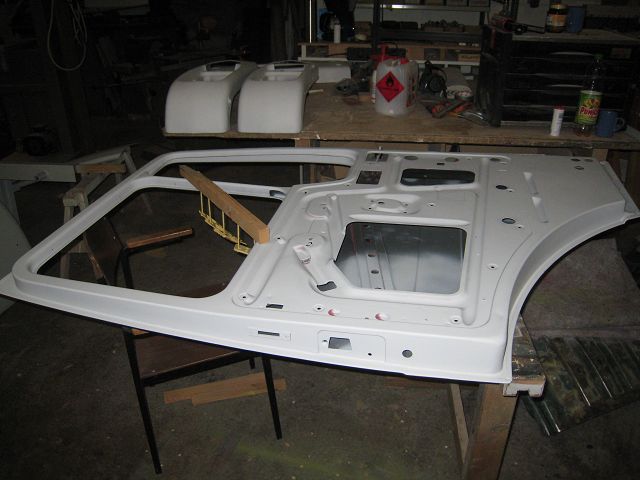
At a certain point it was also decided that it is the best to take out all doors
and flaps in the residential cabin. This allowed to spray the paint into the
edges and if opened later there will be no ugly, unsprayed places.
Well, after more than 3 months there wasn’t really anything left for dismantling
and the spraying started , first the Primer,
here a photo after the first batch of the small parts had been sprayed. The
picture shows approximately ¼ of the smaller items.
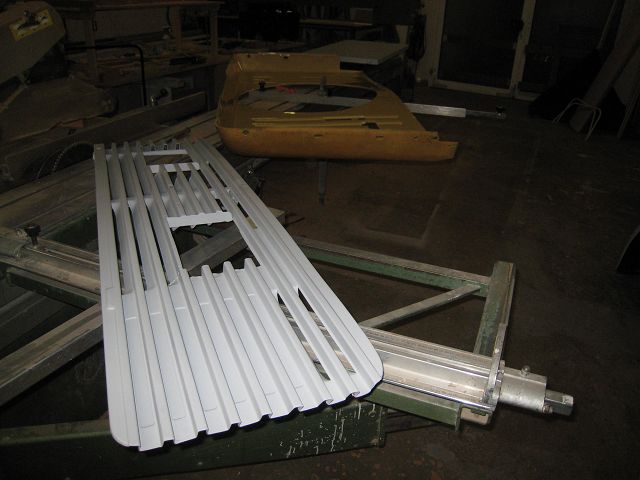
Also the wheels were dismantled and the rims were sprayed silver. The details to
dis- and assembly see also here.
The inside covers were treated likewise with the same paint.
Aluminium parts like the tank cover needed a special Primer.
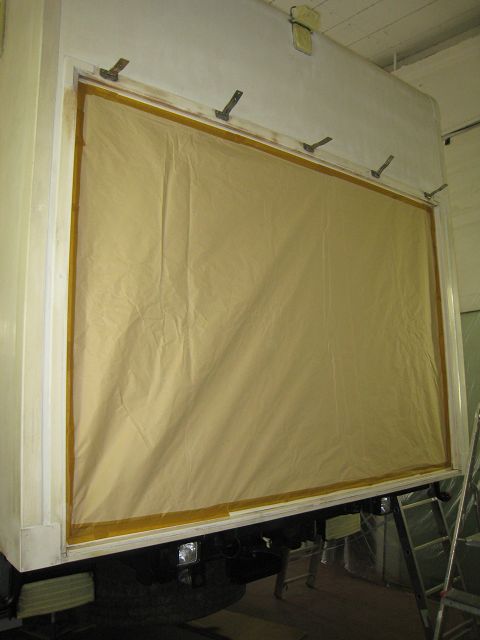
The driver's cabin were treated with spray filler to receive a nicer surface and
then got fine sanding,
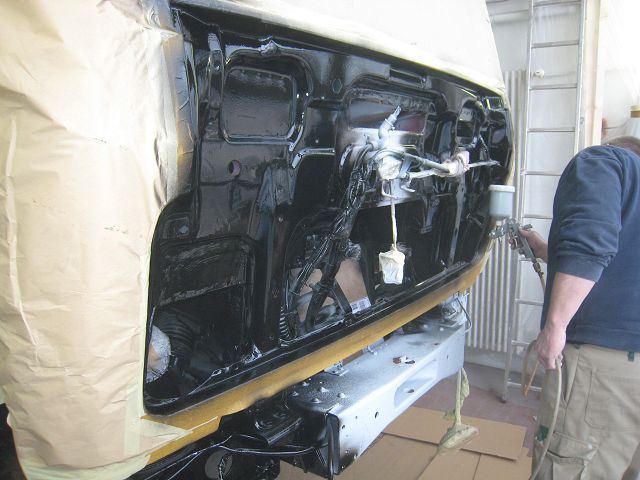
then the black areas got sprayed (roughly said everything below the cabins),
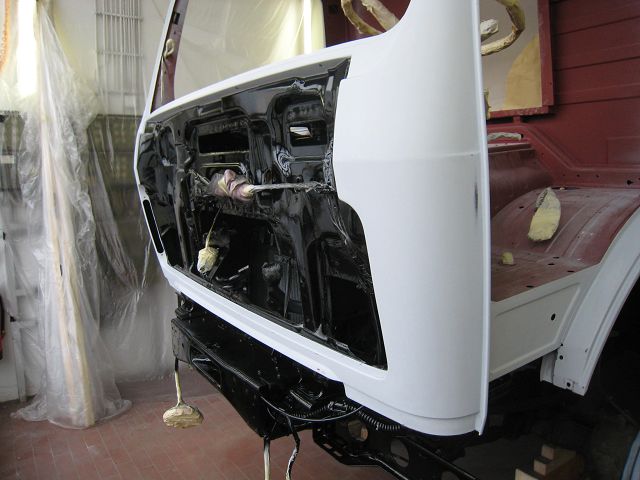
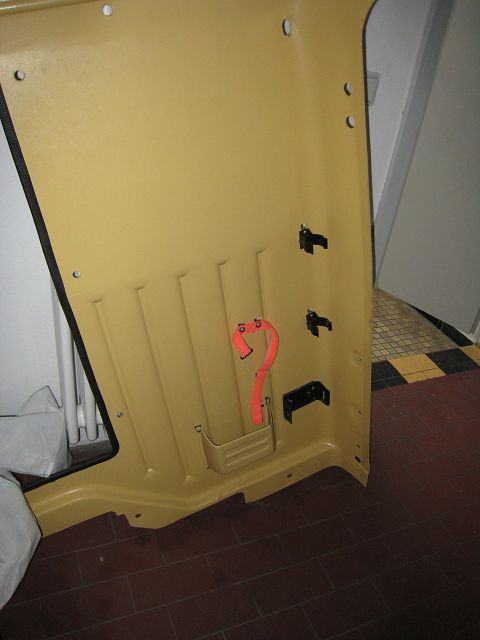
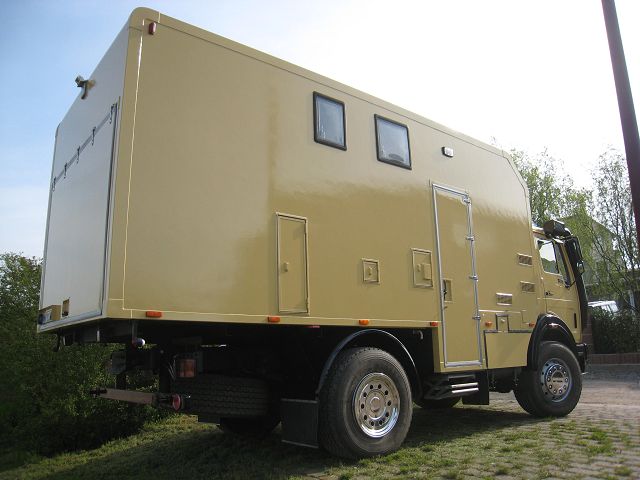
and, in the end, everything else became sprayed in the final colour, a special
2K truck paint in RAL 1002, sand-yellow.
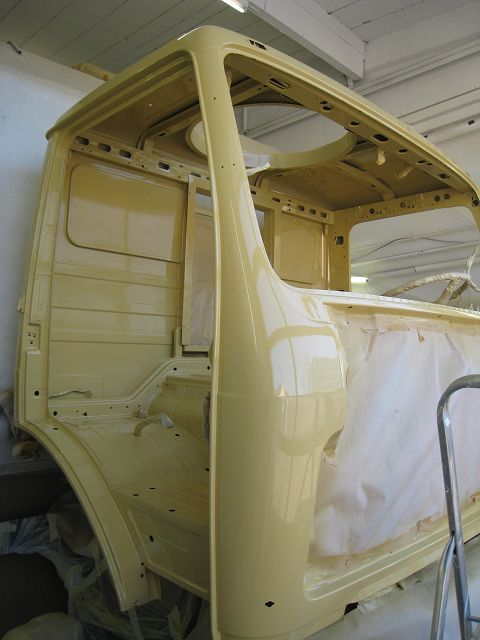
Taking off the protective papers was more fascinating than unpacking Christmas
gifts! Needles to say that for assembling all screws and nuts were exchanged to
stainless steel type ones (where the strength requirements allowed it) and all
rubber seals, edges & parts were exchanged to new ones (luckily Mercedes Benz
still has everything available even after nearly 30 years!).

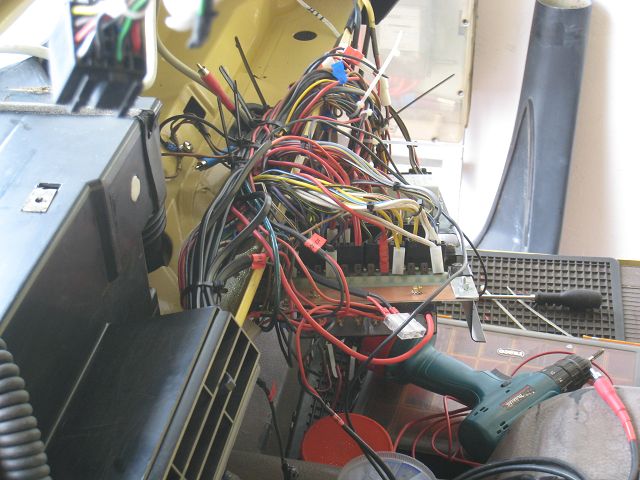
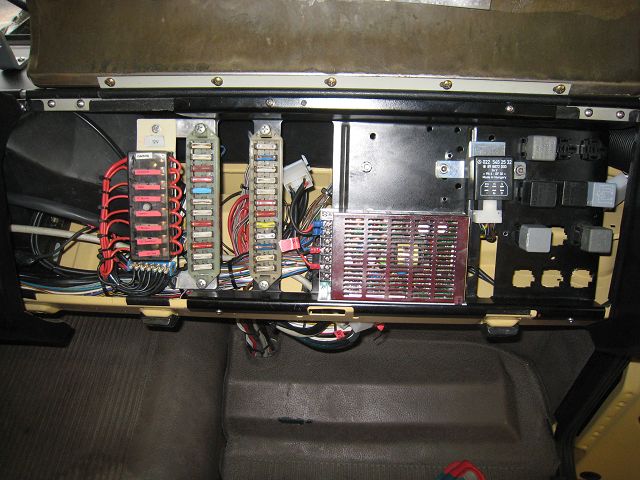
During the previous years cables had been added, e. g. for the warning light of
the electric swing out step in the cabin. I implemented these cables onto the
plugs / coupling strip under the dashboard. So the next spraying should be
faster!
Many cables installed afterwards were put in by simply going the straight way
without following the course of the cable loom. This I cleared up.
Before:
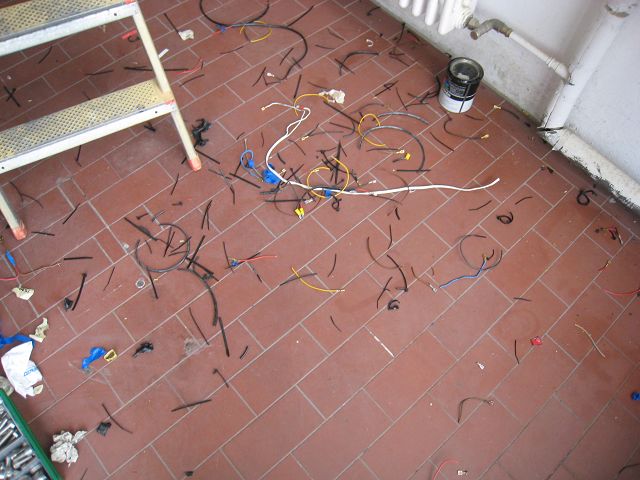
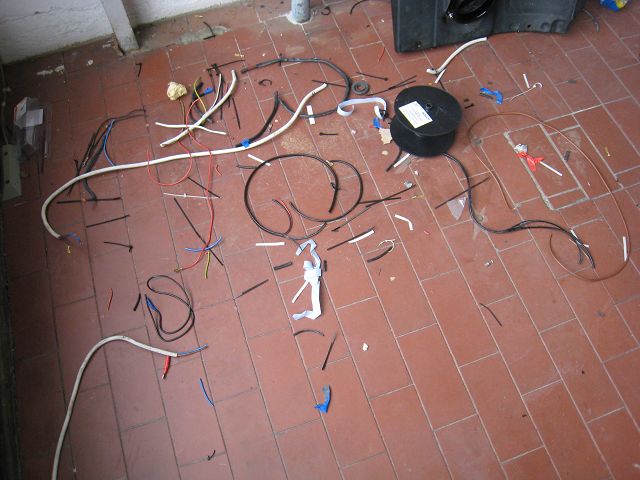
The floor after the action (I already had swept it once in the meantime).
Afterwards a really nice "picture" arose under the flap.

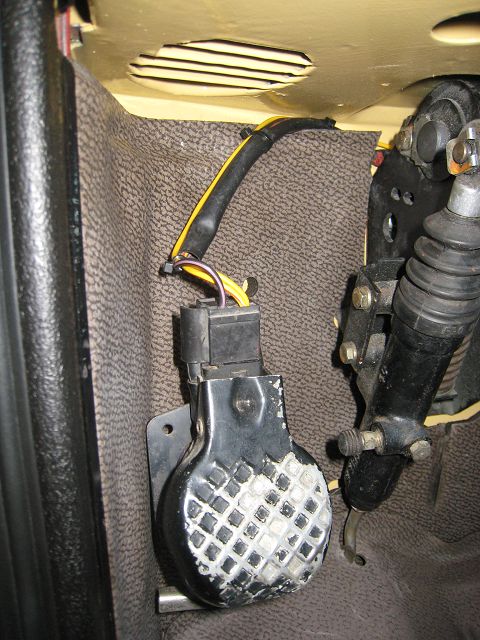
The windshield watering system received an electric pump

which is activated from the switch in the old foot pump (actually, the switch
was for automatic activation of the windshield wiper while pumping water to it).
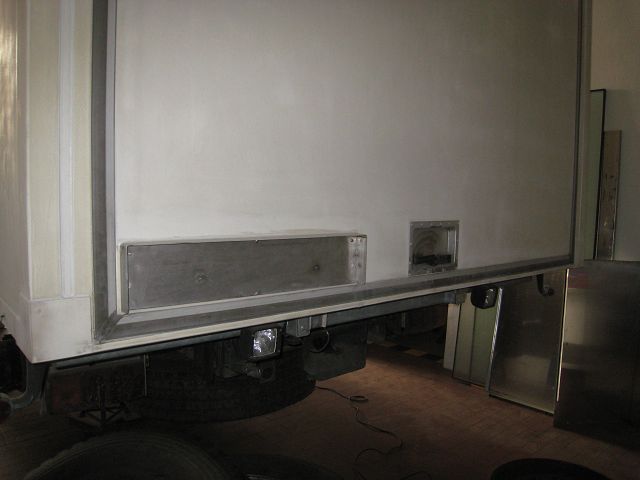
The vent holes for the converters and the PC were simply cut out and then
covered with grids. This didn’t look too nice for my impression and so I ordered
some frames.
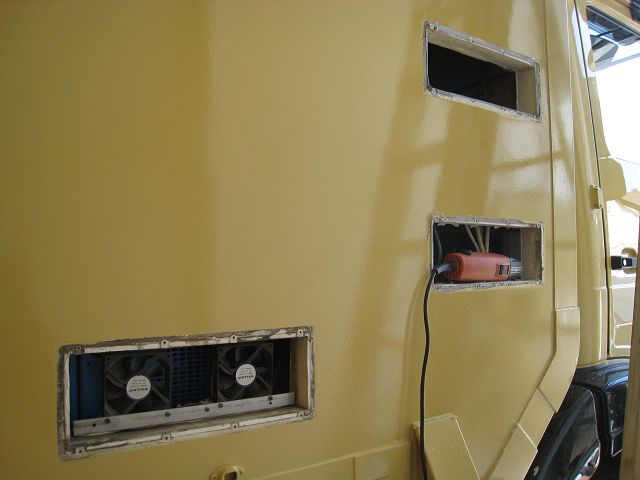
To enlarge the cut was the smallest issue but on the inside the construction
required lots of adjustments so that the installation time per frame took 2 – 3
hours!!
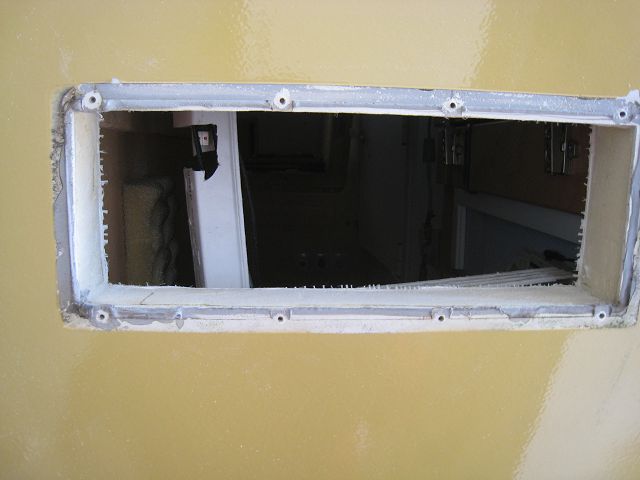
But finally they were where they should be and the cut now looks pretty nice –
on the other side it is a pitty that you will see them normally NOT AT ALL!!

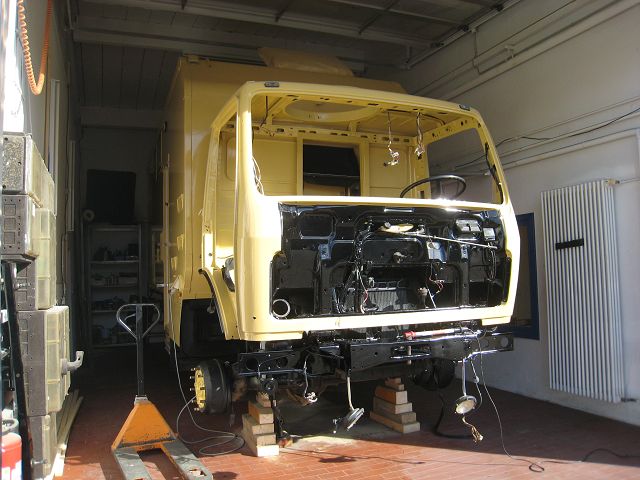
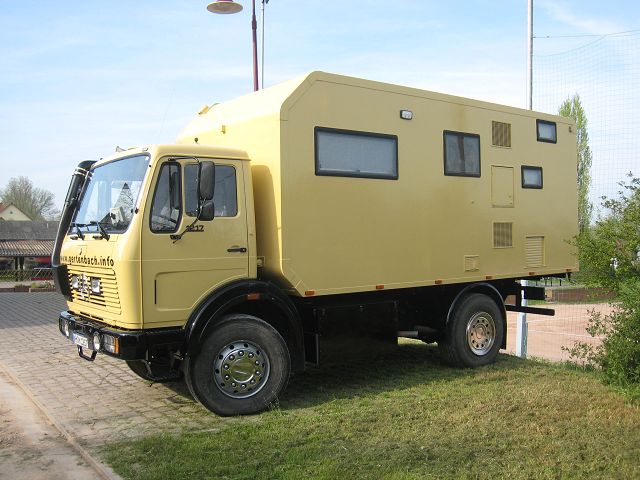
OK, finally some impressions of the nearly finished project.

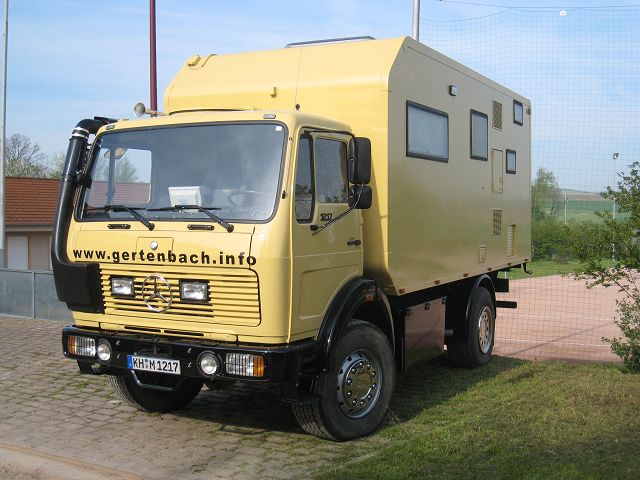
Just for those who are interested in the
material:
2k-VOC Nonstop-Primer white 7,5l
2k-VOC Hardener 25-30 2,4l
2k-VOC Filler
1,5l
2k-VOC-Hardener
0,5l
HS-Fleet-Paint PG RAL 9005 4,0l €44,50/l in 2008 (to give you an idea
about the costs)
HS-Fleet-Paint PG RAL 1002 9,0l
1k-Etch Primer
1 spray-tin (for Alu)
HS-Hardener Stando-Fleet 1,5l
Stadox VOC-Filler
2,0l
2k-Hardner MSX5-25 0,5l
Please don't ask me what was for what! We
described to the supplier what we planned to do (truck cabin and a camper cabin
dimension XYZ) and he recommended the materials to us.
We were very pleased with Vögeli, Mr. Fritz
- thanks!
Thanks as well to my son who (had to) help
me frequently.
Some smaller bits and pieces are still
missing, e. g. a windrose on the right rear side of the cabin and on the drivers
side a schematic scene of camels, pyramid, palm trees and dunes. Furthermore
there are some drains of the paint which will be eliminated.
 Besucher/Visitors
