"BIG FOOT 37"
or
2006_09_14
or
"Mooooore modifications"
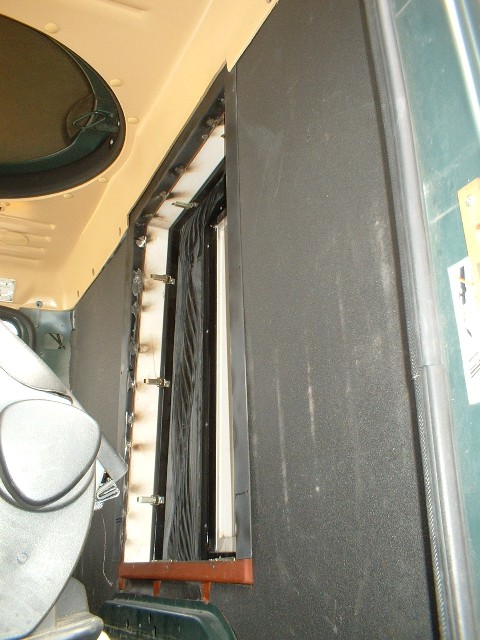
When the cabin
was built from Ormocar they made a
connection to the drivers cabin. The cut-out in the cabin caused the same in the
rear cover of the cabin which was therefore no longer properly fixed and caused
noises when driving on bad streets. I did not start to built a frame, especially
when the first bellow was worn off quite early and needed to be replaced by a
better bellow (pls. refer to. Big Foot 36).
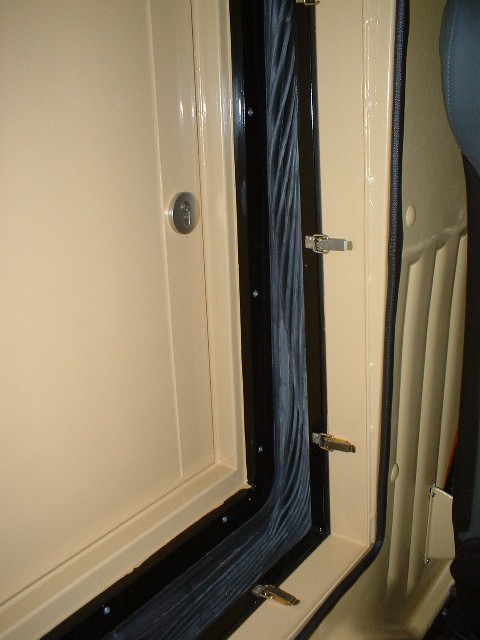
In order that the frame fits to the cover needed to be smaller on the bottom
part. 2 mm steel was bended to an L-shape of 4 x 4 cm and than welded together
in 90°. The easiest way to get the triangular shape was to grind off the steel
afterwards. Finally the frame was welded into the drivers cabin. You can spot
the welding points on the (so far) black frame.
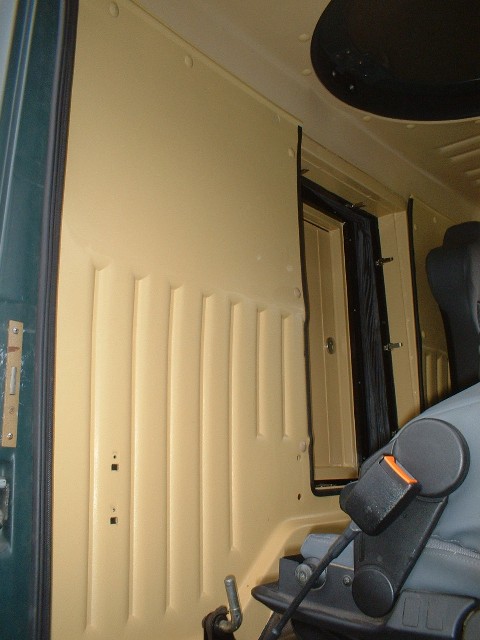
Afterwards I
sprayed the two covers in RAL1002, sand-yellow.
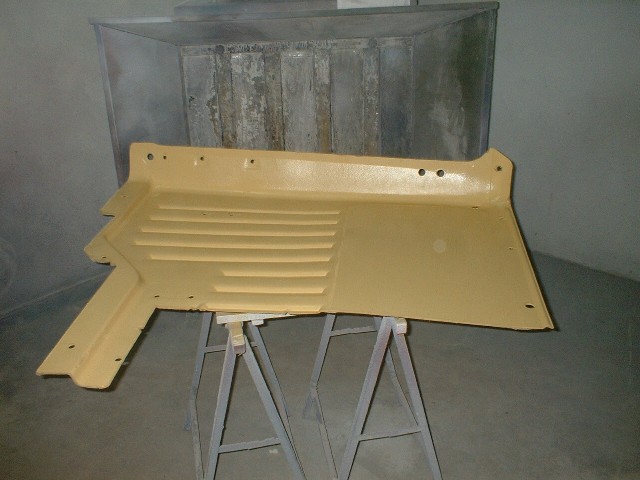
Finally I
painted the door to the cabin and the frame as well sand-yellow to fit to the
cover.
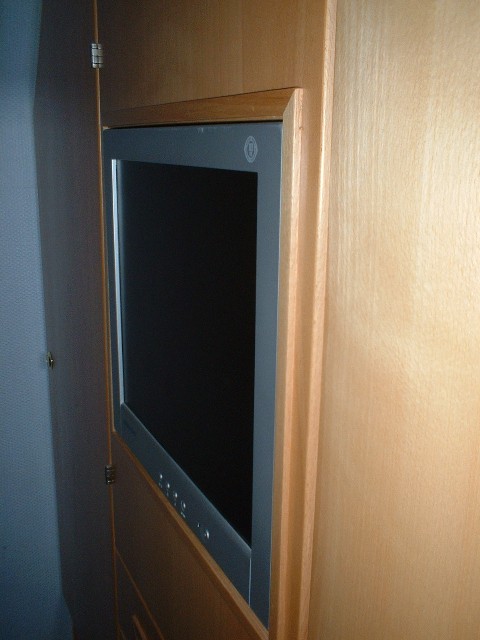
What annoyed me
was the TFT-monitor in the wardrobe. Because the mounting had to be in a high
position this resulted in a bottom-up angle of view when sitting on the benches.
TFT’s anyhow have only a limited angle of view but from bottom-up it is even
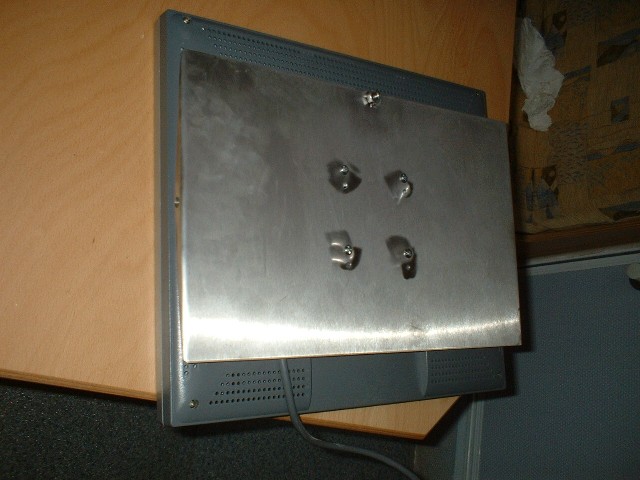
worse. So I took off the monitor

and ordered a
stainless steel U-shaped profile. At the two sides a M8 nut was welded on, two
in the middle on the top to get a longer thread.
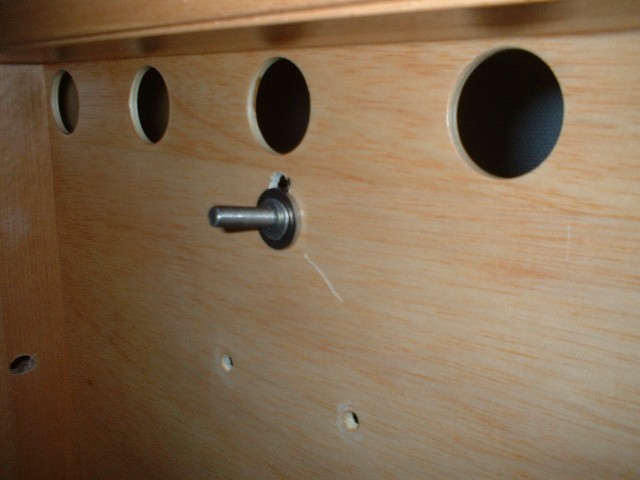
Instead of
mounting the monitor to the rear of the housing of the wardrobe door I fixed it
to the steel profile. The sides of the housing were drilled in the middle.
Wing-nuts fix the steel profile, but now with tilt function. Another wing-nut
was fitted with a hose-clip and allows to adjust the angle.
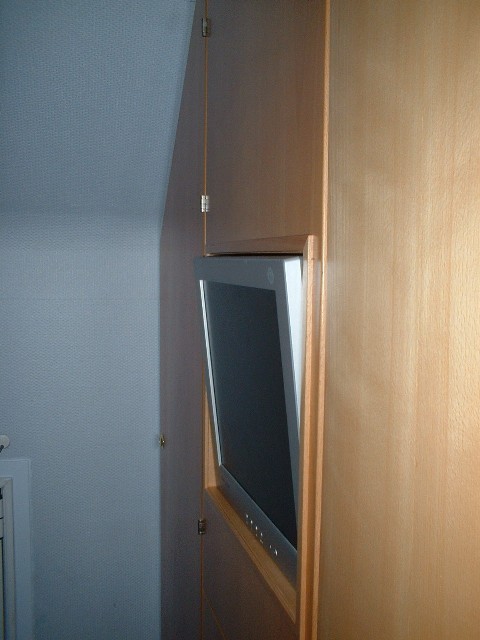
Here flat
position
and here tilted.
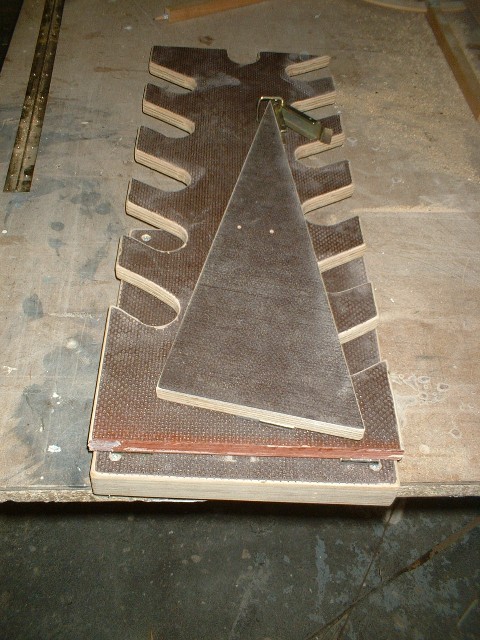
Finally I want
to present my third hand for (de-)mounting of the wheels: Because of the high
torque required when (de-)mounting the wheels (600 NM or more) you need an
extension for the wheel-brace. Operation without a second person to assist the
wheel-brace is nearly impossible or with a high risk that the wheel-brace slides
off or the nut is damaged. So I built from plastic coated plywood (made with
water-sealed glue) a support. Several cuts allow a fine adjustment to the height
of the nuts.
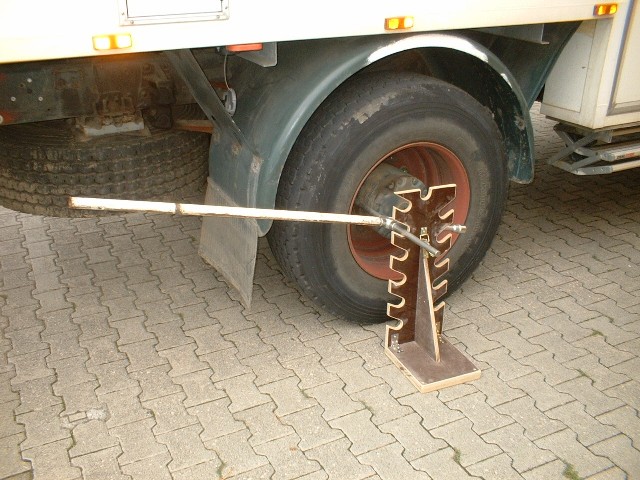
The bottom
plate is mounted with hinges, the stabilisation-triangle with dismountable pivot
hinges and therefore everything can be stored without wasting space.
(Thanks to
Chris for assisting with the translation! He'll know whom I mean!)

 Besucher/Visitors
